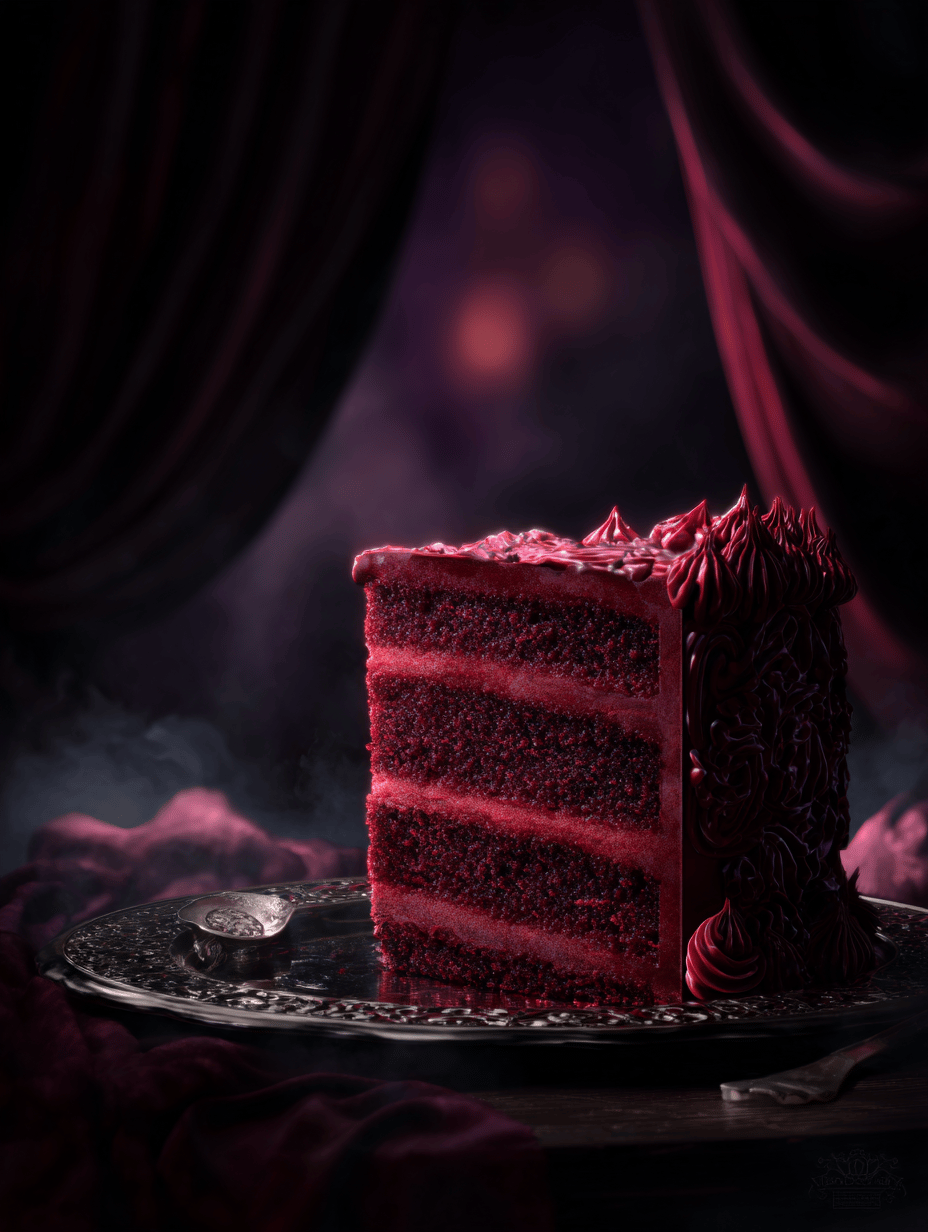
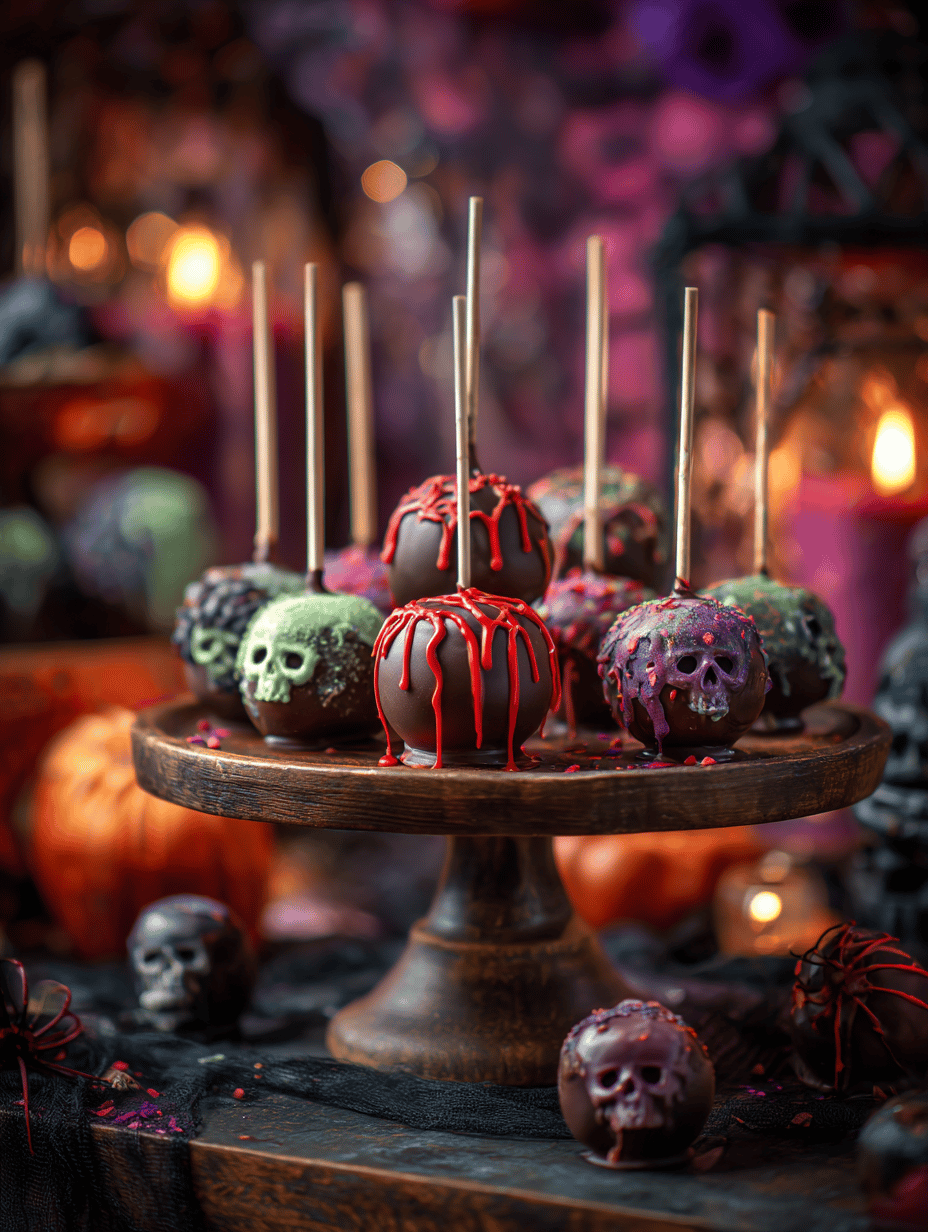
Halloween isn’t just about costumes and spooky movies. It’s about turning your kitchen into a playground for creepy, sweet creations. These cake pops are more than just treats; they’re tiny, edible nightmares with a dash of childhood nostalgia.
What I love about these is how they transform simple ingredients into something delightfully unsettling. You get to play with textures—crunchy, gooey, and tender all at once. Plus, they’re surprisingly easy to customize with whatever candies or colors you have lying around.
They’re perfect for parties, school treats, or just a quiet night of mischief. I’ve found that the more playful and messy, the better the results. And honestly, once you get the hang of it, they become kind of addictive to make.
Why I Can’t Get Enough of These Ghoulish Little Bites
- Making these takes me back to childhood Halloweens, with sticky fingers and giggles.
- Seeing how everyone’s eyes light up when they see them just never gets old.
- I love the chaos of decorating—wobbly eyes, dripping chocolate, it’s all part of the fun.
- They’re a low-stress way to get festive without a big bake-off.
- Honestly, the best part? The tiny, perfect bites of sweet, slightly creepy joy.
Decoding the Magic: The Secret Ingredients of Halloween Cake Pops
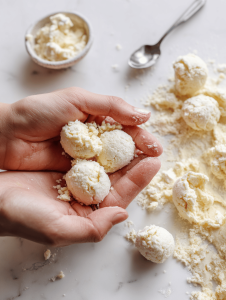
- Crumbled Cake: I use day-old sponge, but leftover cupcakes work too. It’s the base for all the chaos.
- Frosting: A generous spoonful helps hold everything together—vanilla or cream cheese, your call.
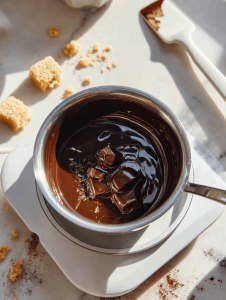
- Chocolate Coating: Dark chocolate for that smoky, glossy finish—melt it gently over 45°C (113°F).
- Decorative Candy: Candy eyes, sprinkles, or colored icing—whatever turns your treats into mini monsters.
- Toothpicks & Styrofoam: For easy handling and drying—think of it as your magic wand and stand.
- Food Coloring: Brights or neons—dye your frosting or chocolate for extra creepy vibes.
- Optional: Edible glitter or shimmer dust—because a little sparkle never hurts, especially when it’s spooky.
From Dough to Spook: The How-To of Crafting Your Creepy Confections
Equipment & Tools
- Mixing bowls—big enough for crumbling and mixing.
- Stand mixer or spoon—whichever you prefer for blending.
- Silicone spatula—scrapes every bit of batter or frosting.
- Chocolate melts or double boiler—smooth, even coating.
- Styrofoam block—your drying station.
- Candy thermometer—helps melt chocolate at the right temp.
- Small piping bags—decorating with detail and precision.
Mise en place
- Crumb the cake into fine pieces, set aside.
- Prepare frosting, color if needed.
- Melt chocolate, keep at 45°C (113°F).
- Set up decorating station with candies and tools.
- Insert toothpicks into cake balls, chill for 30 mins.
The Steps
- Mix crumbled cake with frosting until dough is firm but pliable.
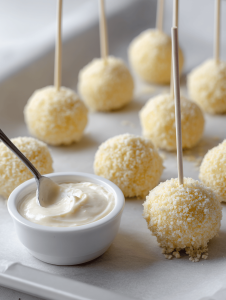
- Roll into small balls, about 2 cm diameter.
- Insert toothpicks, freeze for at least 30 mins.
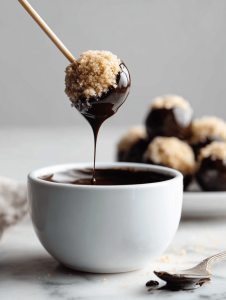
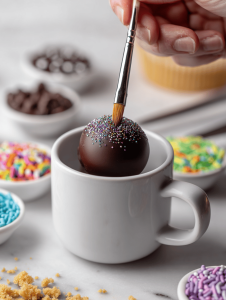
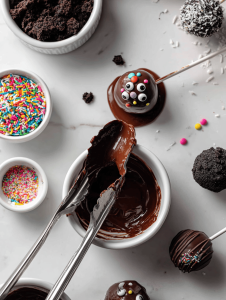
- Dip each ball into melted chocolate, tap off excess.
- Place on Styrofoam, decorate immediately with candies or icing.
- Let set at room temp or chill for 15 mins to firm up.
- Add final touches—glitter, tiny hands, or spooky faces.
Rest & Finish
Allow cake pops to dry and set fully—about 30 mins at room temp.
Arrange on a platter, serve with a side of creepy music or dry ice smoke for extra effect.
How to Know They’re Ready
- Chocolate is firm and shiny, no sticky patches.
- Cake inside is moist but not raw or crumbly.
- Decorations stay put, no smudging.
Oops Moments and How to Fix Them Without Losing Your Mind
- FORGOT to chill the cake balls? Pop them back in the freezer for 15 mins.
- DUMPED too much frosting into the mix? Add more crumbled cake to balance texture.
- OVER-TORCHED chocolate? Add a splash of vegetable oil to smooth it out.
- CHIPPED decorations? Use edible glue or a tiny bit of icing to reattach.
Quick Fixes to Save Your Spooky Stack
- When coating cracks, splash on warm chocolate, smooth with a brush.
- Patch small dents with extra icing or melted chocolate.
- Shield imperfections with sprinkles or edible glitter.
- When chocolate thickens, re-melt with a few drops of coconut oil.
- If decorations slide off, chill the pops extra before decorating again.
In the end, these cake pops are more than just treats—they’re little stories told in sugar and chocolate. The chaos and creativity in making them only add to the fun. As the night wears on, you’ll find yourself reaching for just one more, drawn in by their creepy charm.
They’re messy, quick, and perfect for making memories that linger long after the candy wrappers are gone. Sometimes, the best parts of Halloween are the surprises tucked inside something sweet and a little spooky.
Halloween Cake Pops
Ingredients
Equipment
Method
- Mix the crumbled cake with the frosting in a large bowl until the mixture is moist and holds together when pressed.

- Roll the mixture into small balls about 2 cm in diameter, pressing firmly to ensure they keep their shape.
- Insert a toothpick into each cake ball, then place them on a baking sheet lined with parchment paper and chill in the freezer for at least 30 minutes.
- Gently melt the dark chocolate over a double boiler or in a microwave, heating in short bursts until smooth and glossy, around 45°C (113°F).
- Dip each chilled cake ball into the melted chocolate, using the toothpick to fully coat it, then gently tap off any excess chocolate.
- Place the coated cake pops onto a styrofoam block to dry completely, about 15-30 minutes, until the chocolate is firm and shiny.
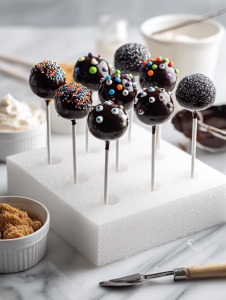
- Decorate the cake pops immediately with candy eyes, sprinkles, or colored icing to create spooky faces or designs.

- Optionally, add a light dusting of edible glitter for an extra spooky shimmer.
- Allow the decorations to set for a few minutes, then serve your creepy, delightful Halloween cake pops.
Once you’ve finished your spooky treats, the real magic is in the sharing—or in that quiet moment of admiring your handiwork. There’s a certain satisfaction in creating something so whimsically eerie that it sparks giggles and maybe a few squeals.
These cake pops aren’t just for Halloween anymore. They’re a reminder that a little chaos in the kitchen can turn into something truly memorable. Let the kids, or the kids at heart, dive into the fun and keep the spooky spirit alive, one bite at a time.