I’ve always loved the quiet thrill of Halloween baking. There’s something about turning simple cupcakes into tiny haunted scenes that sparks a weird, joyful chaos in the kitchen. These spooky cupcakes aren’t just treats—they’re mini stories, waiting to be told with frosting and a little imagination.
What makes this batch special is how easily you can transform them into creepy little monsters or ghosts. No fancy tools needed—just some basic supplies and a dash of your own weird creativity. It’s a messy, goofy process that ends with a batch of cupcakes that look as wild as they taste.
Plus, the best part? Kids and grown-ups alike can join in. The messy frosting, the playful faces—it’s chaos, but it’s the kind of chaos you want on Halloween night. Sometimes, the best memories are made in the kitchen, frosting smudges and all.
What I Love About These Creepy Little Cupcakes
- They bring out my inner kid—frosting mustaches and googly eyes are pure joy.
- There’s a satisfying chaos to decorating—each cupcake becomes a tiny, spooky canvas.
- They taste like childhood—rich chocolate, sweet frosting, and a hint of mischief.
- They’re quick to make, so no fuss, just pure, messy fun.
- Seeing everyone’s faces light up when they see the creepy faces—priceless.
Ingredient Breakdown: The Spooky Palette
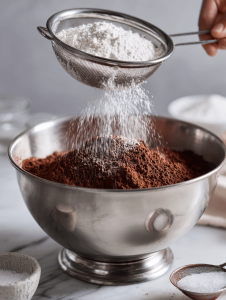
- Chocolate cake mix: I use a standard box, but a rich dark cocoa makes it extra spooky for the flavor. You can swap in a gluten-free blend if needed.
- Frosting: Buttercream is my go-to, fluffy and easy to color. Lemon or vanilla brighten it up, but chocolate frosting adds a deep, smoky touch.
- Food coloring: Brights for fun, or black and gray for the haunted look. I love how a drop of black turns everything into a shadow.
- Candy eyes & edible decorations: The googly eyes are essential—look for ones with a slight squish. You can also use broken cookies or edible glitter for extra texture.
- Additional toppings: Sprinkles, mini marshmallows, or crushed cookies add chaos—think of them as texture explosions.
Crafting Your Creepy Cupcakes: The How-To
Tools & Equipment
- Mixing bowls & spatula—get everything combined smoothly
- Mini spatula or butter knife—perfect for small decorations
- Pastry bags & tips—makes decorating less messy
- Cupcake tins & liners—keep your work clean
- Cooling rack—let them chill before decorating
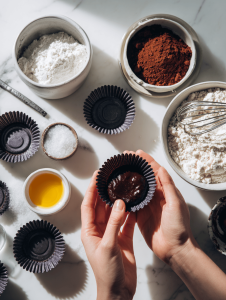
Mise en place
- Preheat oven to 180°C (350°F). Line cupcake tins with liners.
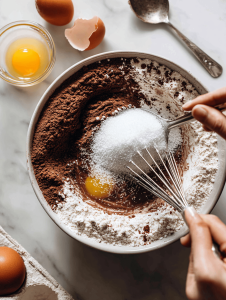
- Prepare ingredients: mix cake batter, divide into bowls for coloring.
- Color frosting and batter as desired—prepare piping tips and decor items.
- Set out all decorations within reach—eyes, sprinkles, etc.
Steps
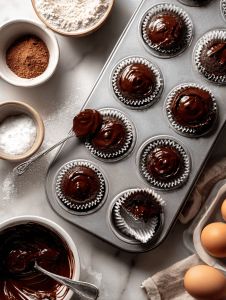
- Fill cupcake liners 2/3 full with batter. Bake for 18-20 minutes. Cool completely.
- Color frosting with food coloring—aim for eerie, unnatural shades.
- Pipe or spread frosting over cooled cupcakes. Use different shapes for variety.
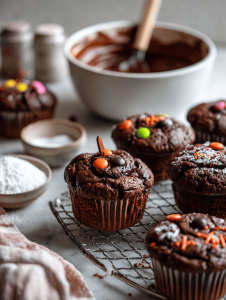
- Decorate with candy eyes, sprinkles, or edible bits—get playful.
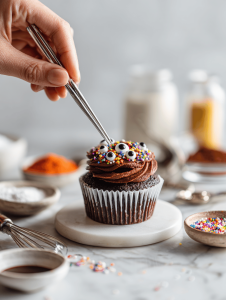
- For creepy faces, use a mini spatula or piping tip to add scars or mouths.
- Let the decorations set for 10 minutes. The frosting should firm up slightly.
Resting & Finishing
Place cupcakes on a tray, let frosting settle a few minutes. Serve once decorated—messy is part of the charm.
How to Know It’s Done
- Cupcakes bounce back slightly when pressed—no wet batter.
- Frosting is firm but not cracking—just enough hold.
- Decorations stay put without sliding off—test with a gentle touch.
Oops Moments & How to Fix Them
- FORGOT to preheat? Reheat oven to 180°C, add 2-3 mins baking time.
- DUMPED too much frosting? Smooth it out with a mini spatula or add a second layer.
- OVER-TORCHED cupcakes? Scrape off burnt edges, re-frost, and call it spooky char.
- Frosting too runny? Chill it in fridge 10 mins, then re-pipe.
Quick Fixes & Kitchen Hacks
- When frosting is too stiff, splash in a tiny bit of milk and stir well.
- Patch cracks in cupcakes with a dab of frosting—no one will notice.
- Shield decorated cupcakes with a light dusting of cocoa powder for a smoky effect.
- When eyes slide off, use a dot of frosting as glue.
- Five-second rescue: run cupcake briefly under cold water, then dry before decorating.
- Swap vanilla extract for a dash of peppermint for a fresh, wintry zing.
These cupcakes are chaos in the best way. The process might be a bit messy, but that’s part of the charm. Every crack and crooked smile just adds to their spooky personality. Hopefully, they’ll bring a little mischief and a lot of flavor to your Halloween table.
In the end, it’s about having fun. Let the kids get silly with eyes and sprinkles. Embrace the imperfections; that’s where the magic lives. These creepy cupcakes may look spooky, but they’re all about the simple joy of baking—loud, messy, and full of surprises.
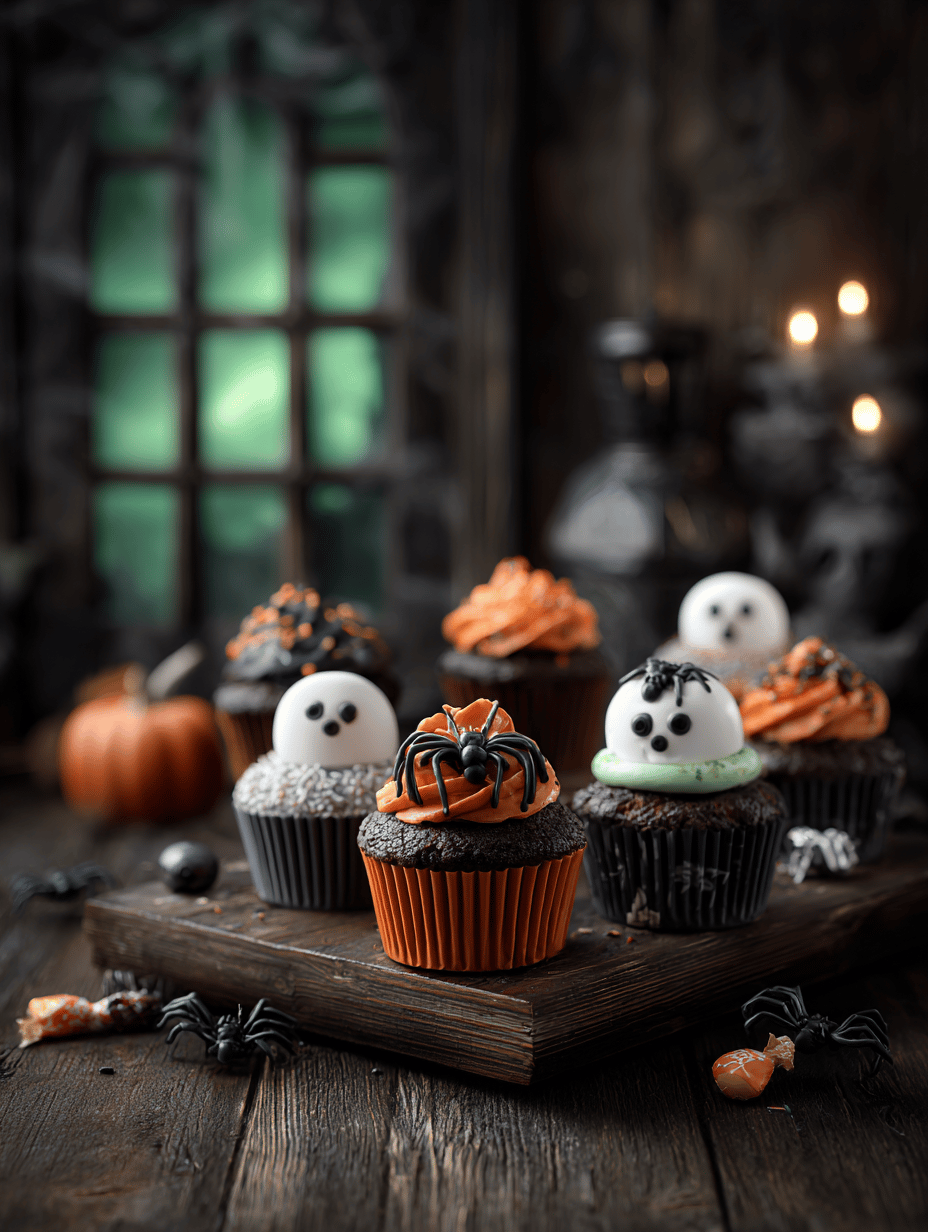
Spooky Halloween Cupcakes
Ingredients
Equipment
Method
- Preheat your oven to 180°C (350°F) and line your cupcake tins with colorful liners.
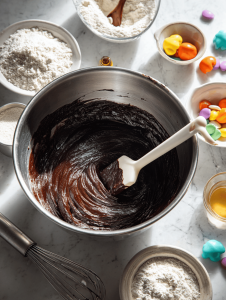
- Mix the chocolate cake batter according to the package instructions until smooth and glossy, then divide the batter evenly among the cupcake liners.
- Bake the cupcakes for 18-20 minutes, until they bounce back when gently pressed and smell rich and chocolatey.
- Allow the cupcakes to cool completely on a cooling rack, listening for the gentle click of the crust forming.
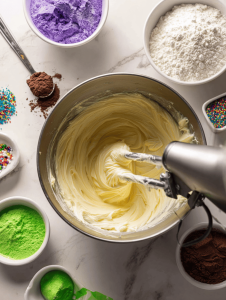
- While they cool, prepare your frosting by beating the butter until fluffy, then gradually add powdered sugar, mixing until smooth. Add a splash of milk to reach your desired creamy consistency.
- Divide the frosting into bowls and tint each with food coloring to create spooky shades like black, gray, or neon colors. Mix until vibrant and even.
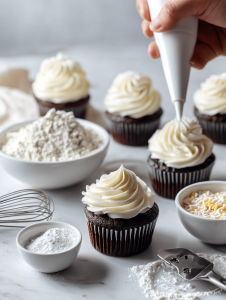
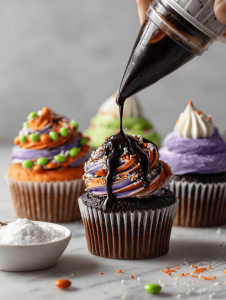
- Fill piping bags fitted with tips or use a spatula to spread frosting over each cooled cupcake, creating different shapes—swirls, flat layers, or textured blobs for variety.

- Decorate each cupcake with candy eyes, sprinkles, and edible bits—scars, mouths, or monster features—using a mini spatula or piping tip for precision.
- Add cracked cookies, edible glitter, or crushed candies to enhance the chaos, making each cupcake a mini spooky scene.
- Let the decorated cupcakes sit for about 10 minutes to let the frosting firm up slightly and decorations settle into their creepy, playful positions.
- Arrange the cupcakes on a tray, serve immediately, and enjoy the wild, colorful chaos of your Halloween treats!
When all the decorations are done and the cupcakes are set, it’s hard not to smile at the chaos. Each one has its own story—some crooked, some perfectly spooky, all uniquely yours. Sharing them feels like passing around a secret—something mischievous and sweet.
And really, that’s what Halloween baking is about. Creating a little chaos, making memories, and sneaking in a few laughs. As the night winds down, these cupcakes will be the last thing anyone talks about—until next year’s batch, that is.