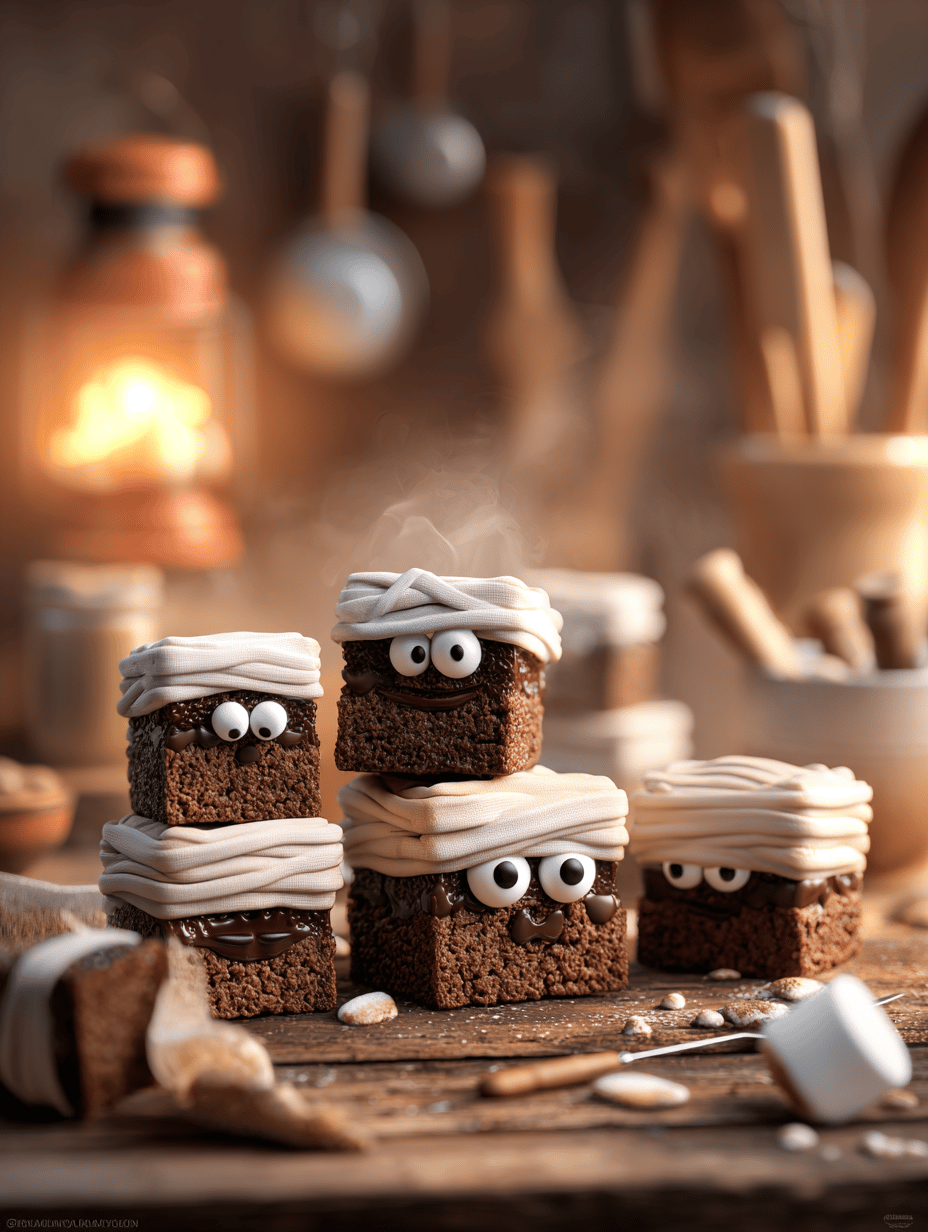
When I first stumbled upon the idea of mummy brownies, I was half-tempted to keep it secret. It’s such a playful, slightly chaotic mix of gooey chocolate and creepy-crawly eyes—perfect for Halloween or whenever you need a little edible mischief. The best part? It’s surprisingly simple to make, even with all those tiny marshmallow bandages.
I love how these brownies turn a familiar treat into something a little wild and unexpected. No fancy ingredients, just a bit of imagination and some candy eyes. They’re the kind of dessert that makes you smile before you even take a bite, and then keeps you giggling through every gooey, crispy forkful.
Plus, they’re a hit with kids and adults alike. The mix of rich chocolate and playful decorations makes for a perfect casual bake. It’s the kind of thing that sparks a little joy and chaos in the kitchen, and honestly, that’s what I crave right now.
What I Love About This Creepy-Cute Classic
- Joyful chaos — these brownies bring out the kid in everyone, messy and fun to make.
- Playful nostalgia — reminds me of school parties and costume nights I never outgrew.
- Easy prep — quick ingredients, no fancy tools, just a sprinkle of imagination.
- A little spooky, a little sweet — perfect for seasonal baking or surprise treats.
- Instant conversation starter — everyone’s eyes light up at the sight of tiny marshmallow bandages.
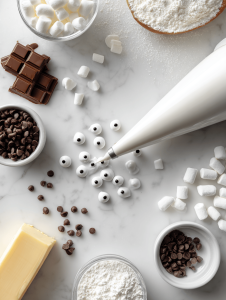
Ingredient Secrets from My Kitchen Diary
- Dark chocolate: I prefer a good quality bar, melts smoothly and makes the brownies rich and deep. Swap with vegan or dairy-free if needed.
- Butter: adds that glossy, fudgy texture; can substitute with coconut oil for a subtle coconut flavor.
- Sugar: I use regular granulated, but brown sugar gives a softer, caramel note.
- Eggs: bind everything together, keep it moist. For an egg-free version, try flaxseed meal mixed with water.
- Marshmallows: the gooey bandages, so essential. Use mini or regular, but avoid large ones that won’t melt evenly.
- Candy eyes: for the creepy, crawling look. Bright, shiny, and so fun to stick on hot brownies.
- Decorative icing: optional for extra detail—think little scars or stitches for extra creep.
How to Bring These Mummy Brownies to Life
Tools & Equipment
- 9×9 inch baking pan: for even baking and manageable slices.
- Mixing bowls: one for wet ingredients, one for dry.
- Heatproof spatula: for folding and scraping.
- Double boiler or microwave: melt the chocolate smoothly.
- Small spoon or piping bag: for placing marshmallows and eyes.
Mise en Place
- Chop the chocolate and set aside.
- Line the baking pan with parchment paper.
- Gather all decorations and tools.
- Preheat oven to 175°C (350°F).
- Prepare marshmallows and candy eyes.
Steps
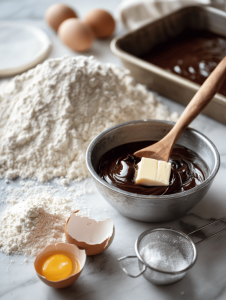
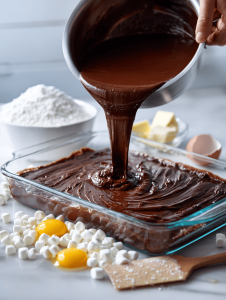
- Melt chocolate and butter over low heat, stirring until smooth. Let cool slightly.
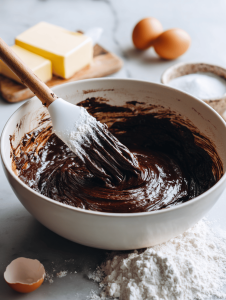
- Whisk eggs and sugar until fluffy, then fold in the melted chocolate mixture.
- Gently mix in flour and a pinch of salt until just combined.
- Pour batter into the prepared pan, smoothing the top.
- Bake for 20–25 minutes; the edges should be firm, center slightly soft.
- Remove from oven, let cool for 15 minutes.
- Arrange marshmallows like bandages, pressing lightly into the surface.
- Place candy eyes on the marshmallows, pressing gently to adhere.
- Let set for 30 minutes, then slice and serve.
- If marshmallows melt unevenly, re-dip and reposition as needed.
Resting & Finishing
Allow brownies to cool completely before slicing for clean cuts. Keep at room temperature for up to two days or refrigerate for longer storage.
Serve with a little extra candy eye for a final creepy touch or a dusting of cocoa powder for a more dramatic look.
How to Know It’s Done
- The edges are firm and slightly pulling away from the pan.
- The center jiggles just a little when shaken gently.
- A toothpick inserted in the middle comes out with moist crumbs, not raw batter.
Oops Moments and How to Fix Them
- FORGOT the marshmallows? Sprinkle extra chocolate chips and press in the eyes later.
- DUMPED too much candy eyes? Use a toothpick to reposition or cover with drizzled chocolate.
- OVER-TORCHED edges? Trim with a warm knife, then patch with melted chocolate.
- BAKE too long? Check for that crackly top and remove early next time.
Quick Fixes for Kitchen Disasters
- When brownies stick, splash some hot water on the pan’s edges and wait 10 seconds.
- Patch cracks with melted chocolate or a dusting of cocoa powder for a smoky look.
- Shield uneven marshmallow placement with a drizzle of melted white chocolate.
- If marshmallows turn too oily, blot gently with paper towels.
- Rescue a dry brownie by brushing with a tiny bit of melted butter and serving with whipped cream.
These brownies aren’t just for Halloween anymore. They’re a reminder that baking can be messy, silly, and totally satisfying. Sometimes, a little chaos in the kitchen makes the best stories—and the sweetest treats to share.
So, gather your ingredients, embrace the imperfections, and let these creepy little morsels add a dash of mischief to your day. Nothing beats the joy of biting into a gooey, chocolatey surprise that’s as fun to make as it is to eat.
Mummy Brownies
Ingredients
Equipment
Method
- Melt the chopped dark chocolate and butter together in a double boiler or microwave, stirring until smooth and glossy. Let it cool slightly to prevent eggs from cooking when added.
- Whisk the eggs, sugar, and vanilla extract together in a bowl until the mixture is fluffy and slightly pale, about 2 minutes. This helps incorporate air for a tender crumb.

- Pour the cooled chocolate mixture into the egg mixture, gently folding together with a spatula until fully combined and smooth.

- Sift the flour and salt into the wet mixture, then fold gently until just combined. Be careful not to overmix to keep the brownies tender.

- Pour the batter into a parchment-lined 9x9 inch baking pan, spreading evenly with a spatula to fill all corners and create a smooth surface.
- Bake in a preheated oven at 175°C (350°F) for 20–25 minutes, until the edges are firm and a toothpick inserted in the center comes out with moist crumbs. The center should be slightly soft but not raw.
- Remove the pan from the oven and let the brownies cool in the pan for about 15 minutes until they are firm enough to handle.

- Arrange the mini marshmallows on top of the slightly cooled brownies, pressing them lightly into the surface to resemble bandages.

- Place candy eyes onto the marshmallows, pressing gently to ensure they adhere securely. Use a small spoon or piping bag for precise placement.
- Let the decorated brownies sit for about 30 minutes to allow the marshmallows to set and the eyes to stick firmly.

- Slice into squares and serve. For an extra spooky touch, add decorative icing for scars or stitches if desired.

Notes
There’s a kind of joy in turning simple ingredients into something unexpectedly spooky. These mummy brownies, with their playful messiness and chewy chocolate, fit right into that messy, joyful space. They’re perfect for sneaking some fun into a quiet weekend or spicing up a casual get-together.
And honestly, the best part? Watching everyone’s faces light up at those tiny marshmallow bandages and creepy candy eyes. It’s a reminder that sometimes, the best recipes are the ones that don’t take themselves too seriously. Keep a jar of extra eyes handy—these treats might just become your new tradition.