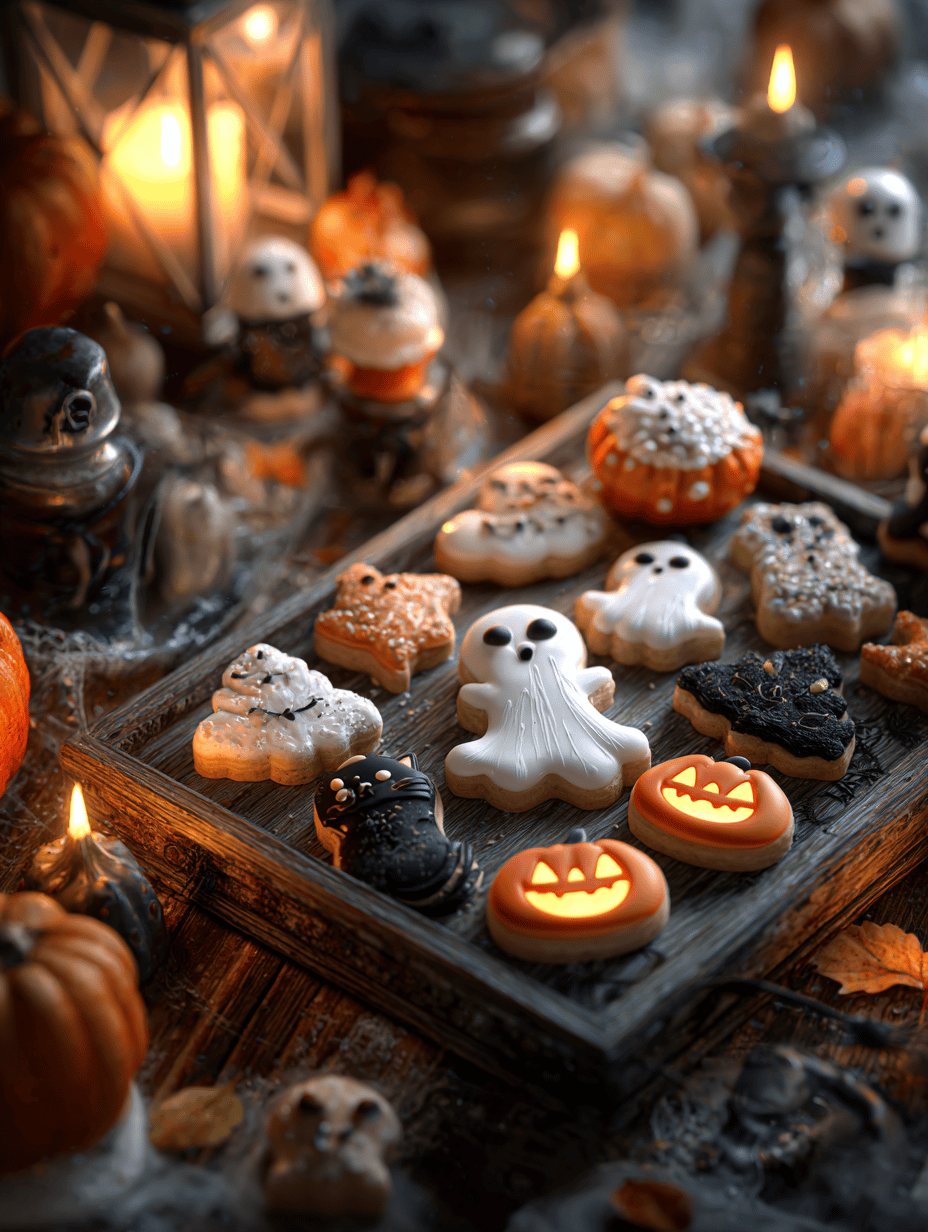
Halloween isn’t just about costumes and haunted houses. Sometimes, it’s about the simple thrill of cracking open a fresh batch of sugar cookies, their edges just starting to turn golden and the scent of vanilla and butter filling the kitchen. I love how these cookies become blank canvases for all my spooky decorations, but I’ve also found that the magic lies in the dough itself—soft, chewy, with a whisper of lemon brightness.
What I’m really after is that perfect balance—crisp edges but tender insides, with enough sweetness to satisfy without overwhelming. Sometimes I mess up the shapes or forget to chill the dough, but over the years, I’ve learned to embrace those quirks. Halloween’s chaos is part of the charm, right? These cookies are easy enough to make with kids or for a last-minute party, but special enough to feel like a treat for yourself.
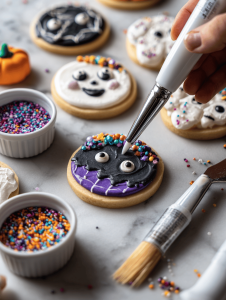
And let’s be honest—decorating these sugar cookies turns into a playful mess. I’ve spent hours piping frosting, adding sprinkles, and testing different spooky themes. It’s a moment of pure creative chaos, and honestly, that’s what makes this recipe a keeper. No matter how many I bake, I always find a new way to make them just a little more festive, just a little more fun.
Why I Love This Recipe: A Haunted Memory in Every Bite
- Making these cookies turns into a cozy tradition, a quiet moment of nostalgic joy amid Halloween’s chaos.
- Seeing the kids’ faces light up when they decorate their own spooky masterpieces is pure magic.
- The smell of baked sugar and vanilla triggers memories of childhood trick-or-treating nights.
- Even after a long day, rolling dough and cutting shapes resets my mood instantly.
- Each batch feels like a little victory in the madness of October.
Ingredient Tales: The Heartbeat of My Spooky Bakes
- Butter: I use unsalted, softened butter to get that rich, melt-in-your-mouth texture. Swap with margarine if you’re in a pinch, but it won’t be quite the same.
- Sugar: I prefer superfine granulated sugar for a smooth dough. Coarse sugar can make the cookies gritty, so stick with the fine stuff.
- Eggs: Large, room temperature eggs help everything blend seamlessly. Skip if you’re vegan—try flaxseed or applesauce instead, but expect a different crumb.
- Lemon zest: Adds a bright pop that cuts through the sweetness. Omit if you’re not a fan, but it’s a game changer for flavor depth.
- Vanilla extract: The secret to that warm, cozy aroma. Use good-quality vanilla—imitation just won’t cut it.
- Flour: I sift all-purpose flour to avoid lumps. Whole wheat works if you want a denser cookie, just reduce the amount slightly.
- Baking powder: A tiny bit helps the cookies rise just enough. Don’t skip it or they’ll be flat and sad.
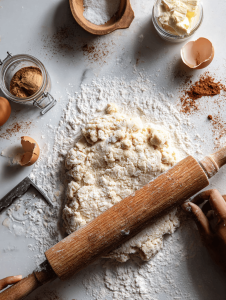
Crafting the Perfect Spooky Cookie: My Step-by-Step Ritual
Equipment & Tools
- Rolling pin: For even thickness and smooth edges.
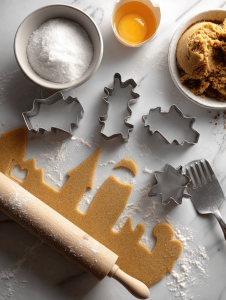
- Cookie cutters: Various spooky shapes—bats, ghosts, pumpkins.
- Silicone baking mat: Prevents sticking and ensures even baking.
- Whisk & spatula: To mix dough thoroughly.
- Cooling rack: To let cookies crisp up without sweating.
Mise en place
- Measure all ingredients and keep them within arm’s reach.
- Preheat oven to 180°C (350°F). Line baking sheets.
- Gather cookie cutters and decorating supplies.
- Softened butter and eggs at room temperature.
- Set a timer for chilling dough—at least 30 minutes.
Steps
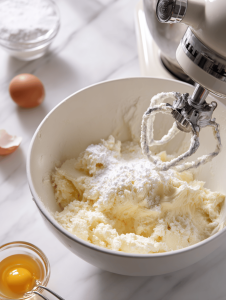
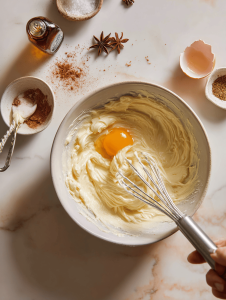
- Cream butter and sugar until pale and fluffy, about 3 minutes. Smell vanilla and lemon zest.
- Beat in eggs one at a time until well combined. Dough should look shiny and smooth.
- Mix in flour and baking powder gradually. Dough will be thick but pliable.
- Divide dough, flatten into disks, wrap in plastic. Chill for 30-60 mins.
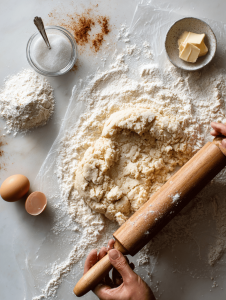
- Roll out chilled dough on floured surface to about 0.5 cm thick. Cut out shapes.
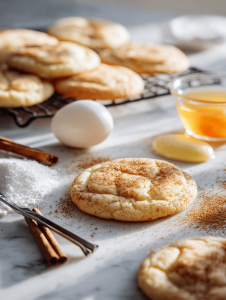
- Place on prepared sheets. Bake for 8-10 mins until edges turn golden.
- Let cookies cool 5 minutes on sheet, then transfer to rack. They should be firm but still tender inside.
Resting & Finishing
Cool completely before decorating. Use royal icing or colored frosting to add spooky details. Let decorated cookies sit for an hour to set.
Checkpoints & How to Know It’s Done
- Edges are golden and firm to the touch.
- Cookies feel set and don’t crack when gently pressed.
- Filling the kitchen with vanilla and baked sugar aroma.
Oops Moments & How to Fix Them: My Haunted Kitchen
- FORGOT to chill dough? Warm it up slightly, then chill again—won’t hold its shape otherwise.
- DUMPED too much flour? Brush off excess and re-knead dough gently.
- OVER-TORCHED edges? Remove early, lower oven temp next time, or cover with foil.
- DOUBLED baking time? Check after 8 mins, cookies might be done sooner than you think.
Speedy Tricks for Last-Minute Spookiness
- When running out of time, splash cold milk into icing to thin it quickly.
- Patch cracks with extra frosting, it’s the easiest fix for imperfect shapes.
- Shield decorated cookies with a light dusting of powdered sugar for a frosted shimmer.
- When cookies are too soft, refrigerate for 10 mins before decorating.
- Use pantry staples—like cocoa powder or cinnamon—to add instant spooky flavor.
In the end, these cookies aren’t about perfection. They’re about the messy, joyful process—about making something that’s a little spooky, a little sweet, and entirely yours. And honestly, that’s what makes Halloween so special, even in the chaos.
Spooky Sugar Cookies
Ingredients
Equipment
Method
- Begin by creaming the softened butter and superfine sugar together in a large bowl using a whisk or electric mixer, until the mixture is pale, fluffy, and fragrant—about 3 minutes.
- Beat in the egg one at a time, making sure each is fully incorporated before adding the next. The dough will become smooth and shiny, with a slightly thickened appearance.
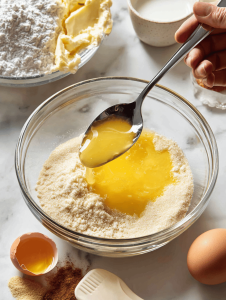
- Stir in the freshly grated lemon zest and vanilla extract, allowing the bright aroma to fill the kitchen.
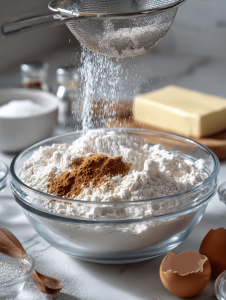
- Gradually add the sifted flour and baking powder, mixing gently until the dough comes together into a thick but pliable ball.
- Divide the dough into two disks, flatten each into a disc, wrap in plastic wrap, and chill in the refrigerator for at least 30 minutes to relax the gluten and make rolling easier.
- Once chilled, remove a disc and place it on a floured surface. Roll out to about 0.5 cm thickness, keeping the dough smooth and even.
- Use spooky-shaped cookie cutters to cut out your desired shapes, pressing firmly to get clean edges.
- Transfer the cut shapes onto a silicone baking mat-lined baking sheet, spacing them slightly apart.
- Bake the cookies in a preheated oven at 180°C (350°F) for 8-10 minutes, or until the edges turn a light golden brown and the cookies feel firm yet slightly springy to the touch.
- Remove the cookies from the oven and allow them to cool on the baking sheet for about 5 minutes, then transfer them to a cooling rack to cool completely and crisp up.

- Once cooled, decorate with royal icing or colored frosting to create spooky designs. Let the decorated cookies sit for at least an hour to set the decorations before serving.
Notes
Every year, I forget how much I love decorating these sugar cookies until I get lost in the chaos again. The best part is watching the kids’ faces light up when they see their spooky creations come to life. It’s not just about the cookies—it’s about the little moments of mischief and magic they bring.
Once the last sprinkles are in place, I find myself already dreaming up new shapes and themes for next year. Halloween is a whirlwind, but these cookies make the noise and the quiet all worth it. And really, isn’t that what makes celebrating in the kitchen so addictive?