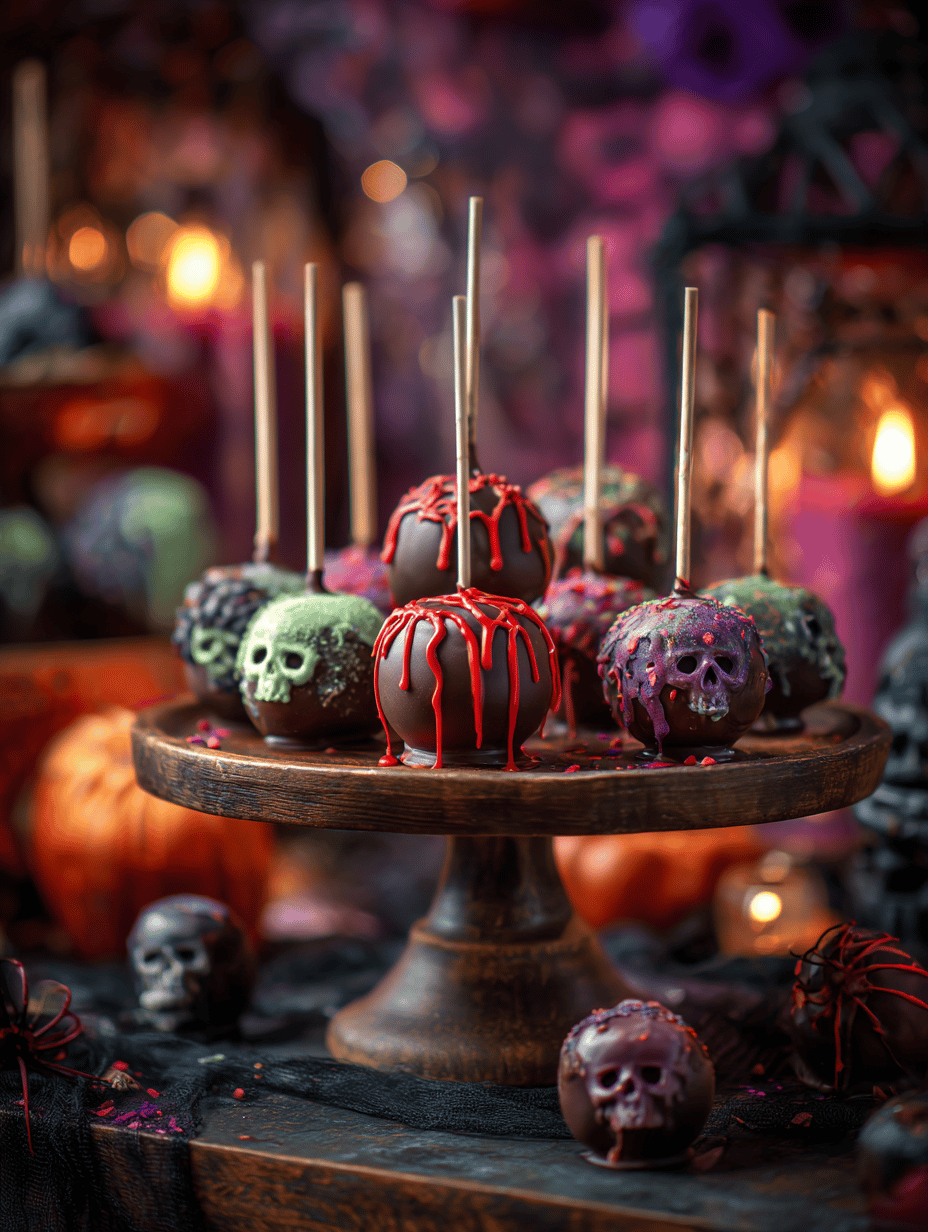
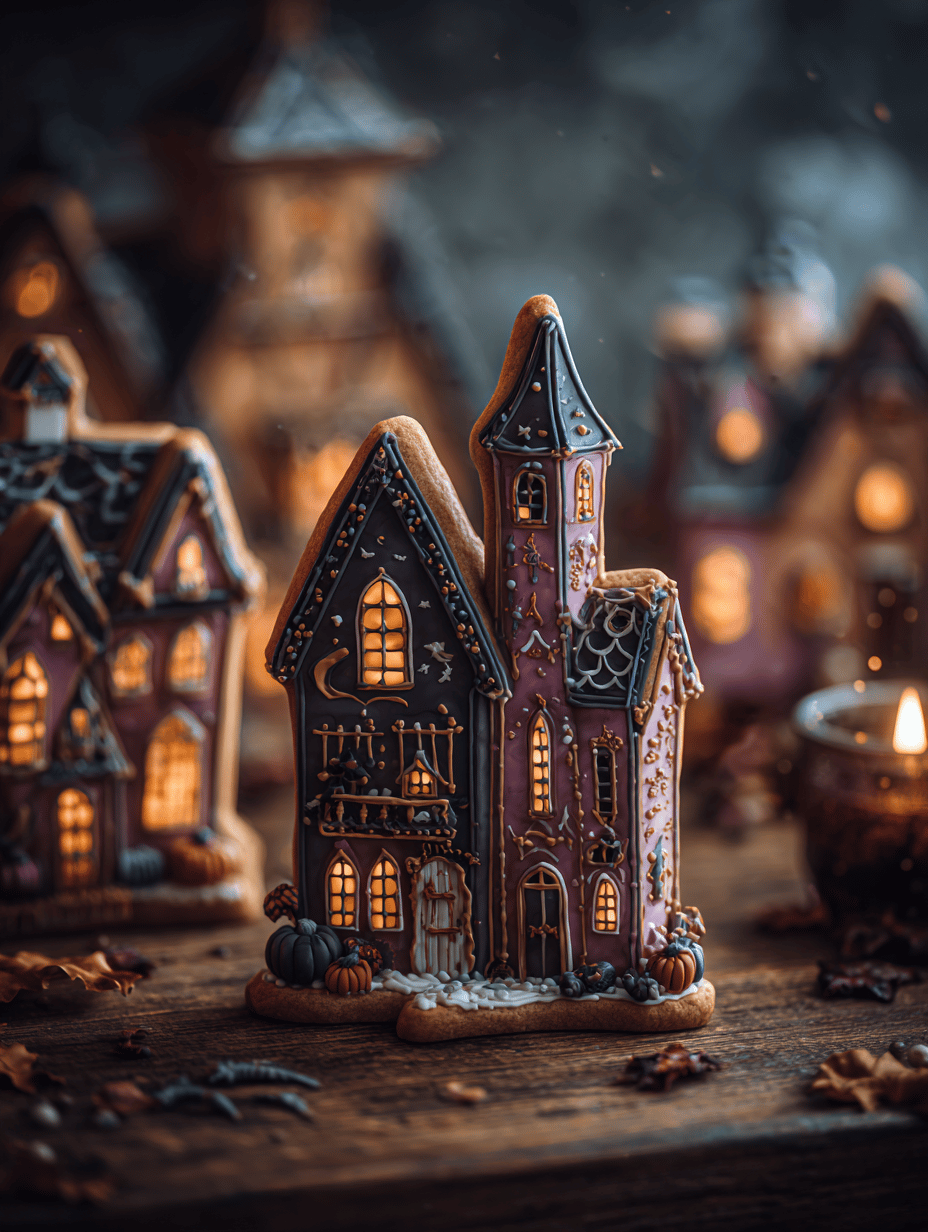
There’s a strange charm in baking cookies that look like haunted houses. Maybe it’s the joy of turning simple ingredients into tiny spooky structures, or the thrill of watching kids (and adults) giggle at the googly eyes and crooked walls.
These cookies aren’t just treats; they’re a little bit mischievous, a little bit nostalgic. I remember the first time I made them, the kitchen filled with a smoky vanilla aroma while I crafted crooked rooftops and spooky windows. It’s chaos and creativity rolled into one, perfect for chilly autumn evenings or last-minute spooky gatherings.
What I love most? They’re forgiving. No perfect symmetry needed. Just a handful of ingredients, some piping, and a dash of patience. They turn out quirky, a little spooky, but mostly downright fun.
Memory Lane: Why I Keep Coming Back to Haunted House Cookies
- Joy explodes when kids squeal at the first glimpse of a tiny haunted house. It’s pure magic.
- Nostalgia hits hard—reminds me of childhood Halloweens and baked dreams.
- Chaos in the kitchen makes the process lively, no two cookies are ever quite the same.
- Seeing the finished batch, crooked and charming, feels like a small victory each time.
- Making these gives me a chance to be playful, breaking the usual baking rules.
Ingredient Secrets: The Ghostly Arsenal
- Butter: I use softened unsalted butter, it helps the dough hold together. You can swap in margarine if needed.
- Sugar: Granulated sugar gives that crisp edge. Brown sugar adds a chewy, caramel note if you like richness.
- Flour: All-purpose flour is best. If you want a softer cookie, try half cake flour.
- Eggs: They bind everything. For a fluffier cookie, a splash of milk can help too.
- Vanilla Extract: Brightens the dough. For a smoky undertone, add a tiny splash of bourbon vanilla.
- Black Food Coloring: Use gel for vivid ghosts and shadows. A few drops make the eyes pop.
- Royal Icing: The ghostly white coat and tiny details need it. Powdered sugar and meringue powder are the base.
The Haunted House Blueprint: How to Bring Them to Life
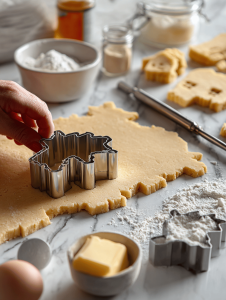
Equipment & Tools: Baking sheets, parchment paper, piping bags, small round tips, toothpicks, scissors, and a cooling rack.
Mise en place: 1. Measure all ingredients. 2. Preheat oven to 180°C (350°F). 3. Line baking sheets with parchment. 4. Fill piping bags with royal icing. 5. Cut small windows and door shapes from fondant.
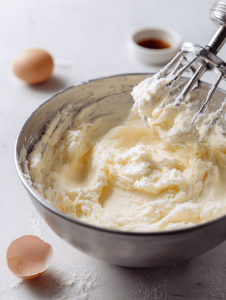
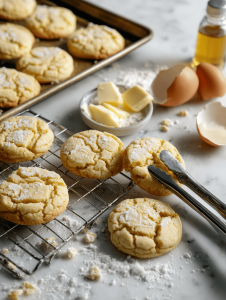
Steps: 1. Cream butter and sugar until fluffy, about 3 minutes. 2. Beat in eggs and vanilla. 3. Mix in flour bit by bit; dough should be firm but pliable. 4. Chill for 15 minutes. 5. Roll out dough to 0.5cm (¼ inch). 6. Cut out house shapes with a cookie cutter or freehand. 7. Bake 10-12 minutes until edges are golden. 8. Cool completely on a rack.
9. Decorate with royal icing: pipe crooked roofs, spooky windows, and eyes. 10. Use toothpicks for tiny details. 11. Let icing set for at least an hour before handling.
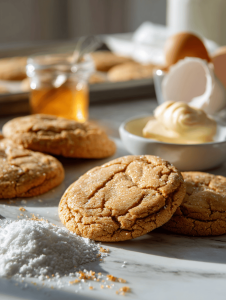
Rest the cookies for a few hours, or overnight if possible. The icing firms up, and flavors meld. They’re best enjoyed fresh but keep well in an airtight container.
Checkpoints & How to Know It’s Done: Cookies should be golden at the edges, firm but not hard. Icing should be opaque and dry. The house shapes should hold their form without cracking.
Oops, I Blundered! How to Fix Haunted House Fails
- FORGOT to chill dough? It’s soft and sticky—pop it back in the fridge 10 minutes.
- DUMPED too much flour? Your cookies will be dry—try adding a teaspoon of milk to the dough.
- OVER-TORECHED the edges? Use a tiny brush with warm water to smooth uneven spots.
- WANDERING icing? Keep a damp cloth nearby to tidy up drips before drying.
Quick Fixes for Last-Minute Haunted House Magic
- When icing cracks, patch with a tiny dab of wet icing. Shimmering fix!
- Splash a little lemon juice into icing if it’s too thick; it’s a quick shine-up.
- Patch small cracks with extra royal icing. It acts like magic glue.
- Shield cookies from humidity with a plastic wrap tent if weather’s damp.
- Use a spare piping tip to create spooky textures fast—think cobwebs or cracks.
By now, the house cookies are ready to haunt your table with a splash of chaos and a pinch of spooky cheer. They’re not perfect, but that’s what makes them special. Sometimes a crooked roof and googly eyes say more than a perfectly symmetrical cookie ever could.
In the end, it’s all about the messy, joyful process. These haunted house cookies are meant to be fun—quirky, a little spooky, and totally yours. Let them be a reminder that sometimes, the best treats come from a little chaos and a lot of imagination.
Haunted House Cookies
Ingredients
Equipment
Method
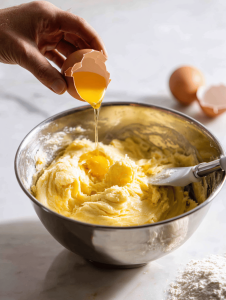
- In a large bowl, beat the softened butter and sugar together with a mixer until the mixture is light and fluffy, about 3 minutes. You'll notice it turns creamy and slightly pale.
- Add the egg and vanilla extract to the butter mixture and beat until fully combined, about 1 minute. The mixture should be smooth and slightly shiny.
- Gradually add the flour, mixing on low speed until the dough comes together and is no longer sticky. The dough should be firm but pliable, like playdough.
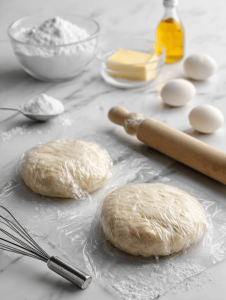
- Divide the dough into two halves, shape into disks, wrap in plastic wrap, and chill in the refrigerator for at least 15 minutes. This relaxes the gluten and makes rolling easier.

- Preheat your oven to 180°C (350°F) and line baking sheets with parchment paper. Remove one dough disk from the fridge and place on a lightly floured surface.
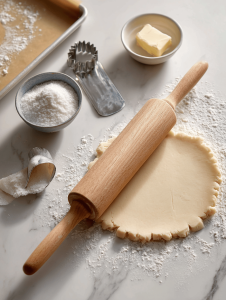
- Roll out the dough to about 0.5cm (¼ inch) thickness, ensuring even pressure. Use a cookie cutter or freehand cut house shapes with a knife. Cut out windows and doors from fondant or dough if desired.
- Carefully transfer the cut cookies onto the prepared baking sheet, spacing them about 2 inches apart. Repeat with the second dough disk.
- Bake the cookies for 10-12 minutes until the edges are golden brown and the shapes are firm. The house shapes should hold their form without cracking. Remove from oven and cool completely on a cooling rack.
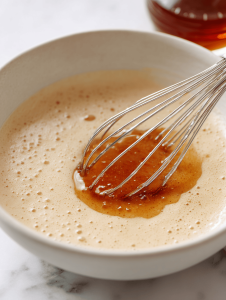
- Prepare royal icing by mixing powdered sugar and meringue powder with a few drops of water until it reaches a thick, piping consistency. Divide the icing into bowls and tint with black gel food coloring as needed.
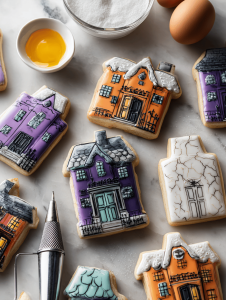
- Fill piping bags fitted with small round tips with the icing. Pipe crooked rooftops, spooky windows, and googly eyes onto each cookie. Use toothpicks to add tiny details or create textures.
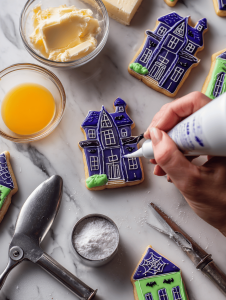
- Allow the decorated cookies to set for at least an hour, or until the icing is opaque and dry. Once hardened, they’re ready to haunt your Halloween table or be enjoyed with a smile.
Notes
As the last cookie cools, I find myself already thinking about the next batch. Maybe with more crooked chimneys or even tiny ghosts peeking out the windows. There’s a strange comfort in knowing these wonky little houses will be gone soon, replaced by giggles and ghostly whispers.
Cooking isn’t always about precision; sometimes it’s about the stories we tell in the chaos. These haunted house cookies are no different. They’re imperfect, unpredictable, and made with a dash of mischief. And honestly, that’s what makes them so memorable.