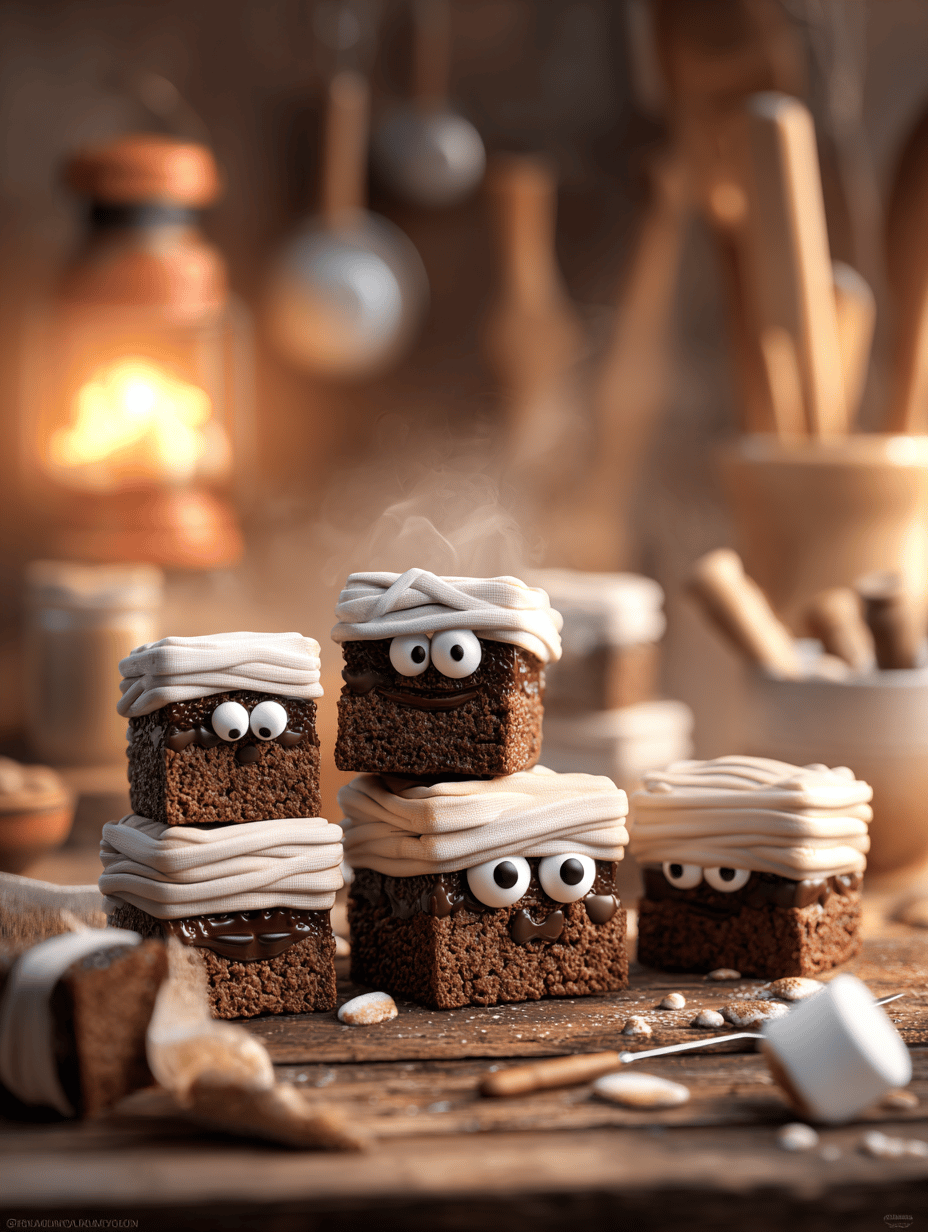
There’s a certain charm in turning familiar sweets into something a little more mischievous. Mummy brownies are not your average dessert—they hide gooey, chocolatey secrets beneath twisted strips of white icing, resembling ancient mummies. I love how they look a little chaotic, just like a real mummy’s wrappings, but taste like a cozy, chocolate hug.
Making these is a bit of a messy affair, but that’s part of the fun. You get to roll out the dough, crack open a bag of chocolate chips, and channel your inner mummy artist. Plus, they’re perfect for Halloween or just a dark, rainy weekend when you need a little playful chaos in the kitchen.
What I really enjoy about these brownies is that every bite delivers a chewy, fudgy core with crispy, sugary bandages on top. They look eerie, sure, but the flavor is rich and comforting. A little bit spooky, a little bit sweet, and totally addictive.
Why I Can’t Stop Wrapping My Mind Around These Mummy Brownies
- I remember sneaking bites as a kid, feeling like I was unwrapping a treasure—these brownies bring that joy back.
- The chaos of piping those white strips makes me laugh, even when I mess up. It’s imperfect, just like real monsters.
- They make me nostalgic for Halloween parties, where everyone oohs and ahhs over the creepy, delicious display.
- There’s pride in turning simple brownies into something so spooky and fun. It’s a small victory every time.
- They’re surprisingly easy to make, even in a rush, which makes them my go-to for last-minute spooky treats.
Decoding the Ingredients of My Creepy Concoction
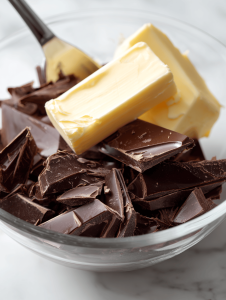
- Dark chocolate: I use good-quality baking chocolate for that deep, smoky flavor. Skip it, and it’s just not the same.
- Butter: Creamy and rich, it makes the batter fudgy and tender. You can swap in margarine, but it loses some depth.
- Sugar: I like a mix of brown and white for a caramel note and crisp edges. Cut back, and they won’t be as chewy.
- Eggs: They bind everything together—don’t skip them unless you’re vegan, then try flax eggs.
- Flour: A pinch of all-purpose keeps the brownies sturdy but tender. Too much, and they get cakey.
- White icing: The magic ingredient for those mummy strips—makes the brownies look spooky but still edible and sweet.
- Chocolate chips: Oozy and melty, I press them into the batter for extra gooeyness. Dark or semi-sweet, your call.
Crafting the Creepy Crawl: How to Make Mummy Brownies from Scratch
Equipment & Tools
- 9×13 inch baking pan: The perfect size for even baking.
- Mixing bowls: For melting chocolate and whisking eggs.
- Rubber spatula: For folding ingredients and spreading batter.
- Piping bag or plastic sandwich bag: To pipe the mummy strips.
- Sharp knife: To cut the brownies into squares.
Mise en place
- Preheat oven to 175°C (350°F). Grease the baking pan.
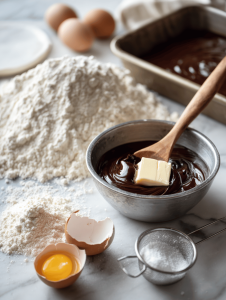
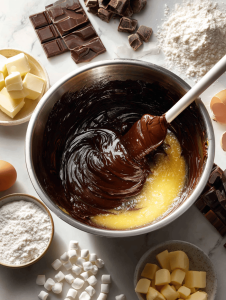
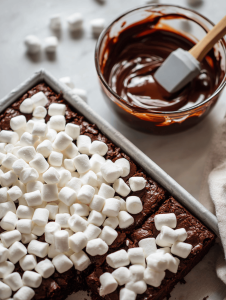
- Melt the chocolate and butter together, stirring until smooth.
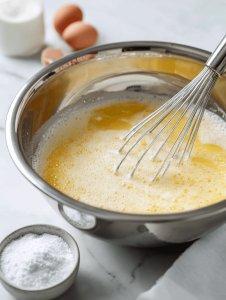
- Beat eggs and sugar until fluffy. Mix in melted chocolate. Sift in flour.
- Pour batter into pan, smooth the top. Bake 20-25 mins.
- Let cool completely before decorating with icing strips.
Steps to Bring The Spook
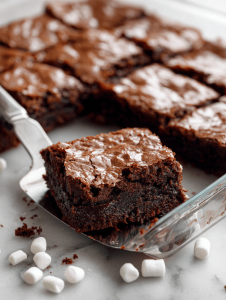
- Bake the batter until the edges are crisp and a toothpick comes out with moist crumbs—about 22 mins.
- Cool in the pan for 10 mins, then transfer to a wire rack. Cool fully, about 30 mins.
- Decorate: Fill a piping bag with white icing. Pipe strips over the cooled brownies in a chaotic pattern.
- For the mummy eyes, pipe small dots of icing or press mini chocolate chips onto the face.
- Optional: Drizzle with melted white chocolate for extra spooky shimmer.
Rest, Play, and Chew
Allow decorated brownies to set for 15 mins. Slice into squares, and serve with a mischievous grin.
They’re best enjoyed fresh, but leftovers keep for a day or two, covered tightly. Just beware—the icing tends to crack if you handle them too much.
How to Know You’ve Nailed It
- The edges are firm but not burnt, with a slight crackle on top.
- The center is fudgy and gooey when tested with a toothpick.
- The mummy strips are crisp, white, and slightly crackled, like old linen.
Oops Moments & How to Fix Them (When Things Get Spooky)
- FORGOT to grease the pan? Spray it with non-stick spray, then dust with cocoa powder.
- DUMPED too much flour? Add a splash of milk to loosen the batter.
- OVER-TORCHED the edges? Cover with foil and lower oven temp for the next batch.
- CRACKED icing? Warm slightly or pipe in layers, then smooth with a toothpick.
Quick Fixes When your Creepy Concoction Needs Rescue
- When icing cracks, splash with a tiny bit of water and smooth it out with a finger.
- Patch cracks with more icing or melted chocolate for a seamless look.
- Shield imperfections with a drizzle of melted white chocolate—shimmer makes everything better.
- If brownies are too dense, fold in a little milk or coffee for lift.
- Switch to dark chocolate chips for a richer, more decadent flavor—adds a smoky note.
In the end, these mummy brownies are a bit chaotic, a little spooky, but undeniably delicious. Every bite is a reminder that sometimes, the messiest creations turn out the most memorable. And isn’t that what good baking is all about?
Whether you’re celebrating Halloween or just craving a dark, chewy treat, these mummies will make your kitchen feel like a haunted house—full of surprises, laughs, and a few cracked smiles.
Mummy Brownies
Ingredients
Equipment
Method
- Preheat your oven to 175°C (350°F) and grease the baking pan thoroughly.
- Chop the dark chocolate and melt it together with butter in a microwave or double boiler, stirring until smooth and glossy.
- In a large bowl, whisk the eggs and sugar together until fluffy and slightly pale, releasing a sweet aroma.
- Pour the melted chocolate mixture into the egg mixture, folding gently with a spatula until well combined.
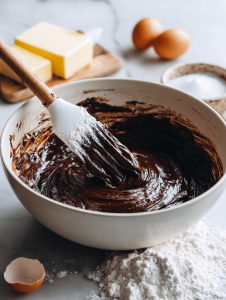
- Sift the flour over the batter and fold it in carefully just until no streaks remain, keeping the batter airy.
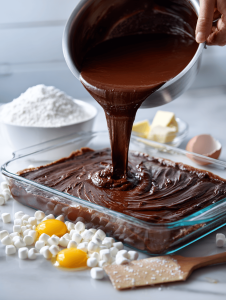
- Pour the batter into the prepared pan and smooth the surface with the spatula for an even layer.
- Bake in the oven for about 20-25 minutes, until the edges are crisp and a toothpick inserted into the center comes out with moist crumbs.

- Remove the pan from the oven and let the brownies cool completely on a wire rack, about 30 minutes, to set their fudgy interior.
- Once cooled, spread the white icing over the top, creating a chaotic pattern of strips with a piping bag or plastic sandwich bag.
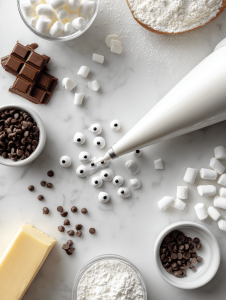
- Add mini chocolate chips or small icing dots for the mummy's eyes, pressing them gently into the icing.
- If desired, drizzle melted white chocolate over the decorated brownies for extra shimmer and spooky effect.
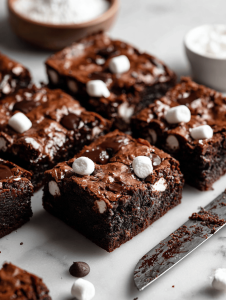
- Let the decorated brownies set for about 15 minutes, then cut into squares with a sharp knife and serve with a mischievous grin.
Notes
There’s something oddly satisfying about unwrapping each mummy strip, revealing that gooey chocolate core beneath. These brownies might look wild, but they’re rooted in simple pleasures and a bit of playful chaos. The best part? They taste just as good as they look—rich, fudgy, and a touch spooky.
When you’ve finished decorating, let them rest for a bit. The icing will set, and the flavors meld together into one mischievous, irresistible bite. Then, it’s just about sharing or sneaking a few more before the kids find them.
Baking these isn’t about perfection; it’s about having fun, making a little mess, and embracing the spooky season in your own delicious way. Sometimes, the best stories come from the chaos in the kitchen—these mummies are no exception.