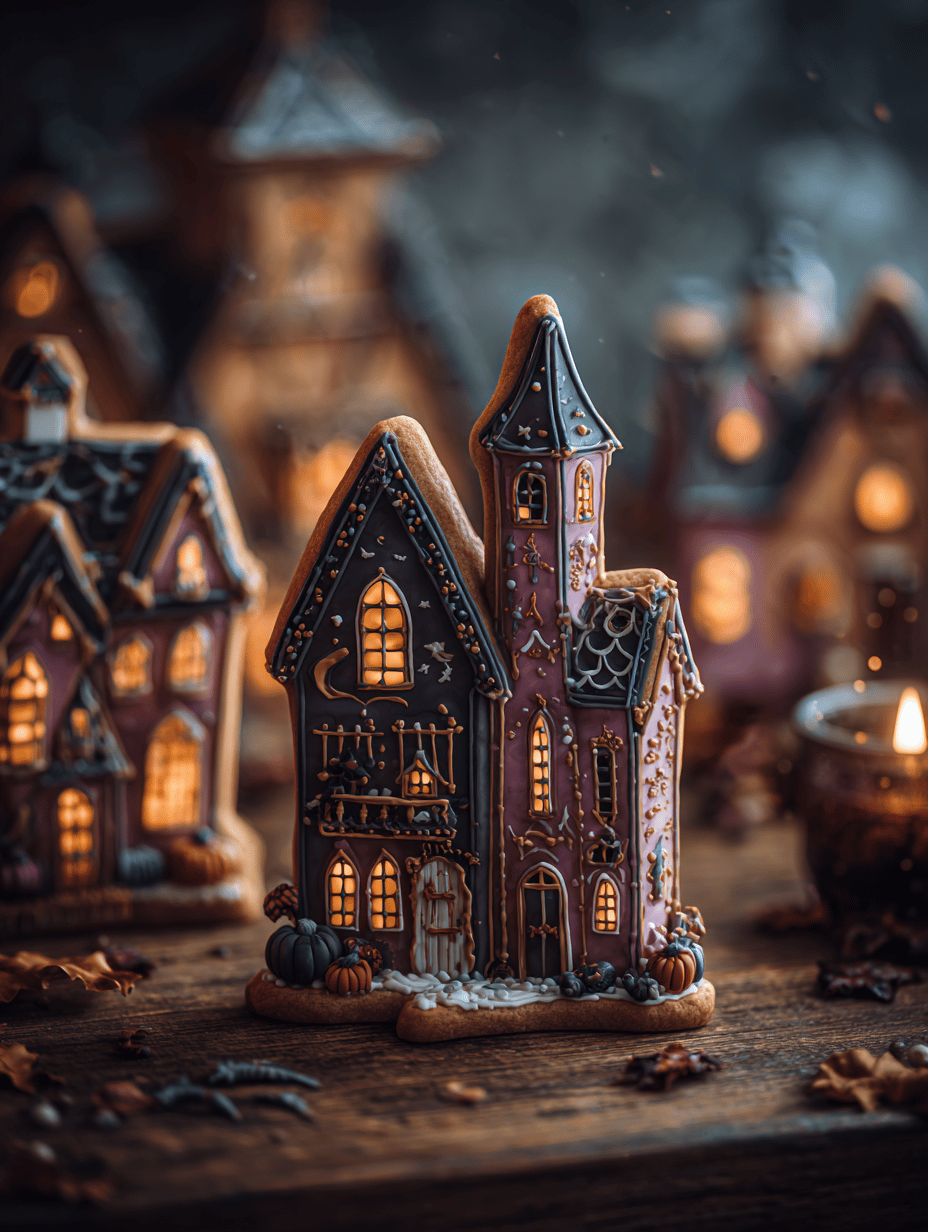
Ever since I was a kid, Halloween meant one thing — sneaking into the kitchen late at night to sneak a cookie or two. Those memories are a jumble of flickering candlelight, the smell of vanilla and cinnamon, and the thrill of tiny fingers shaping eerie figures. Now, I channel that chaos into these haunted house cookies, which are as much fun to make as they are to eat.
This recipe is a playful dance between childhood nostalgia and a dash of creative chaos. The best part? You can personalize each haunted house — crooked walls, crooked roofs, and spooky little details. It’s a messy, joyful process that somehow turns out looking delightfully spooky and tasting even better.
Perfect for a Halloween party or a quiet night of ghostly baking, these cookies bring a sense of mischief and magic. They’re not perfect — that’s what makes them charming. Grab your apron, and let’s get creepy and sweet.
Why I Love This Recipe — A Memory in Every Bite
- Joyful chaos — I love how each haunted house is uniquely crooked and imperfect, just like childhood.
- Relief in simplicity — No fancy ingredients, just butter, sugar, and a little imagination.
- Pride in creativity — Watching the tiny details come together feels like crafting tiny spooky worlds.
- Nostalgia sparks — Baking these takes me right back to my own Halloween nights.
- Shared giggles — They’re a hit with kids and adults alike, sparking silly conversations and laughs.
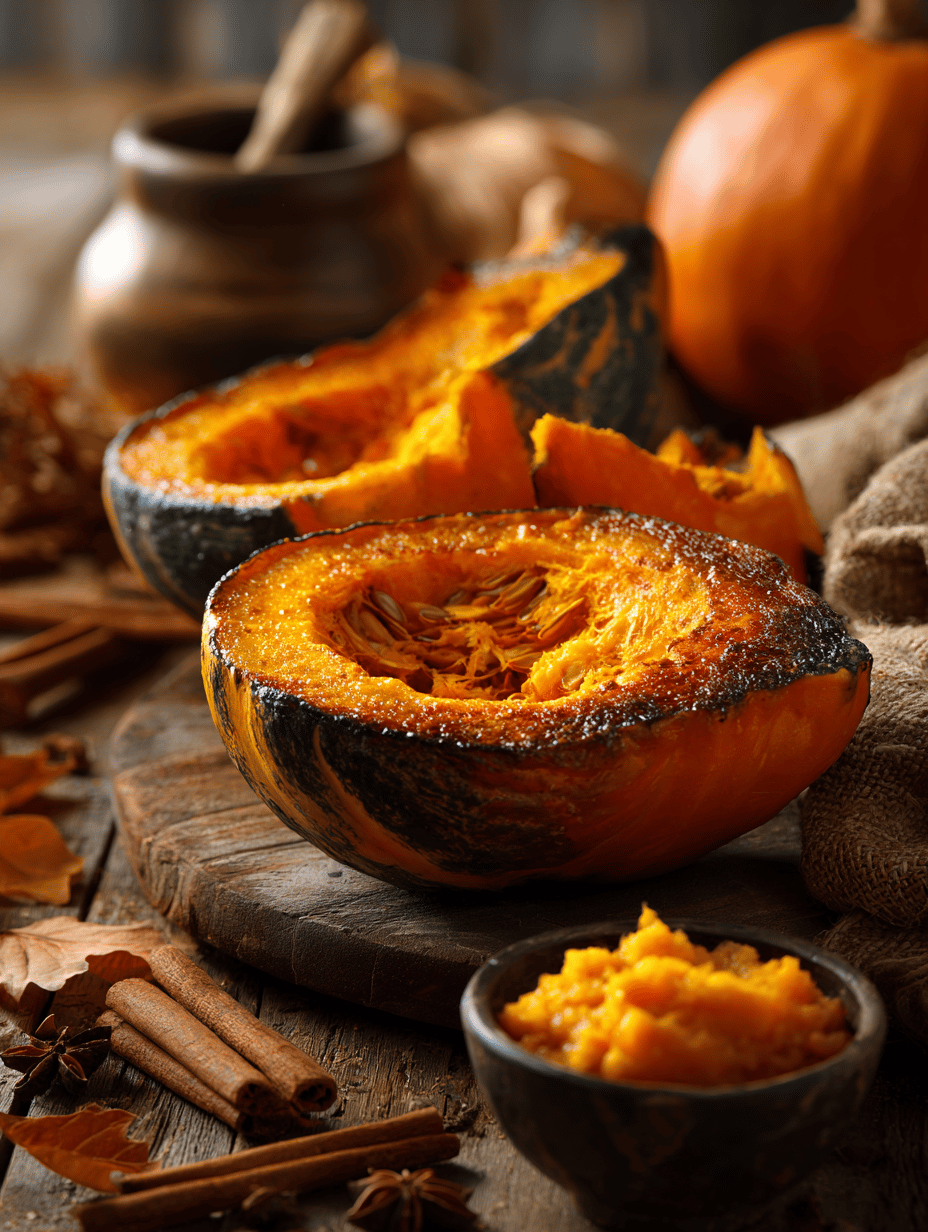
Ingredient Breakdown — Secrets from My Kitchen Lab
- Butter: I use unsalted, softened at room temp. You can swap in margarine if needed, but butter adds richness and depth.
- Sugar: Granulated, for that crisp exterior. Brown sugar works for a chewier cookie, but I prefer the classic sweetness.
- Eggs: Large, fresh eggs bind everything together. For a fluffier texture, add an extra yolk.
- Vanilla extract: Brightens the dough with a smoky-sweet aroma. Use real vanilla for the best flavor.
- Flour: All-purpose, sifted. Don’t skip sifting — it keeps the dough light and prevents lumps.
- Baking powder: Just enough to give a slight lift. No baking soda — it can make the cookies too flat.
- Icing & Decorations: Royal icing is best — it dries hard and makes tiny windows or spooky details. Food coloring: go for black, orange, and purple for that Halloween vibe.
- Optional: Candy eyes or mini chocolate chips — add a pop of flavor and fun details.
My Haunted House Construction Kit — Building the Spookiest Cookies
Equipment & Tools
- Mixing bowls — for blending butter and sugar.
- Electric mixer — makes creaming easier and faster.
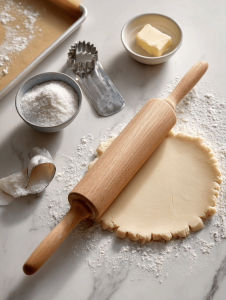
- Rolling pin — for even dough thickness.
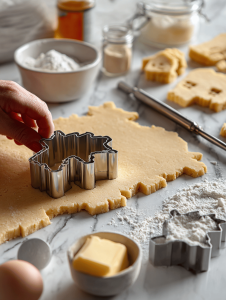
- Cookie cutters — rectangles, triangles, or custom haunted house shapes.
- Parchment paper — prevents sticking and makes cleanup easier.
- Piping bags & fine tips — for decorating tiny windows and doors.
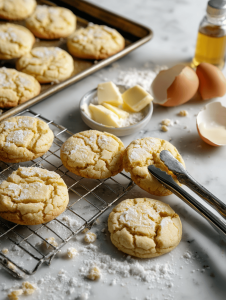
- Cooling rack — keeps cookies crisp as they cool.
Mise en Place
- Preheat oven to 180°C (350°F). Line baking sheets with parchment.
- Gather all ingredients and tools.
- Softened butter and sugar ready for creaming.
- Prepare royal icing and food coloring.
- Roll out dough on a floured surface to about 0.5cm thickness.
Steps
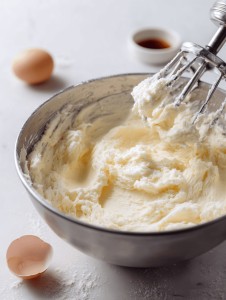
- Cream butter and sugar until pale and fluffy, about 3 minutes.
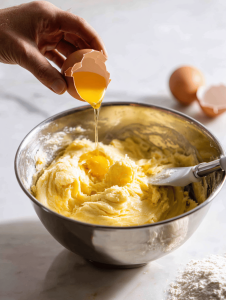
- Add eggs and vanilla, beat until combined.
- Mix in flour and baking powder until dough comes together.
- Divide dough, wrap in plastic, chill for 30 minutes.
- Roll out chilled dough to 0.5cm, cut into haunted house shapes.
- Bake for 10-12 minutes until edges are golden.
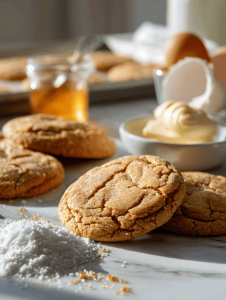
- Let cookies cool on rack—watch for cracks, they’re normal.
- Decorate with royal icing, add spooky details, and let dry for at least 2 hours.
- Finish by placing candy eyes or mini chocolates for extra creepiness.
Resting & Finishing
Allow decorated cookies to dry completely before stacking or storing. They taste best the next day, when flavors meld and icing hardens.
Checkpoints & How to Know It’s Done
- Cookies are golden around edges, not burnt.
- Icing is matte and set, no sticky spots.
- Cookies feel firm but not brittle when you lift them.
Oops Moments — How to Fix the Haunted Mistakes
- FORGOT to chill dough? Wrap and refrigerate for another 30 minutes.
- DUMPED icing too runny? Mix in more powdered sugar until thickened.
- OVER-TORCHED edges? Trim with a sharp knife and patch with fresh icing.
- CRACKS in cookies? Slightly underbake; they expand less during cooling.
Quick Fixes & Kitchen Magic Tricks
- When icing is too thick, splash in a tiny bit of water to loosen.
- Patch cracks with a dab of icing and smooth with a toothpick.
- Shield delicate decorations with a light dusting of powdered sugar to hide imperfections.
- When cookies are soft, pop them in the fridge for 10 minutes to firm up.
- Smell of burnt edges? Switch to a lower oven rack, quick five-second rescue with a damp cloth.
In the end, these haunted house cookies are all about the messy fun of Halloween. No two will turn out exactly the same, and that’s part of the charm. Sometimes, the spooky imperfections make the cutest little monsters.
They’re perfect for sharing laughs or just indulging in a little creative chaos. Whatever the occasion, I find that baking these cookies adds a touch of spooky magic to any night — and that’s what I look forward to every year.
Haunted House Cookies
Ingredients
Equipment
Method
- In a large mixing bowl, beat softened butter and sugar together with an electric mixer until the mixture is pale, fluffy, and slightly increased in volume, about 3 minutes. The aroma of vanilla will fill the air as the sugar dissolves.
- Add the egg and vanilla extract to the bowl and continue mixing until fully combined, about 1 minute. The mixture should look smooth and slightly glossy.
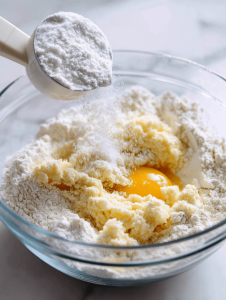
- In a separate bowl, sift together the flour and baking powder to ensure there are no lumps. Gradually add the dry ingredients to the wet mixture, mixing on low speed until the dough begins to come together and is soft but manageable.
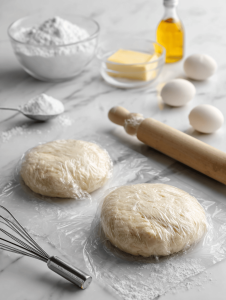
- Divide the dough into two portions, wrap each in plastic wrap, and chill in the refrigerator for about 30 minutes. This helps the dough relax and makes it easier to roll out.
- Preheat your oven to 180°C (350°F) and line baking sheets with parchment paper. Remove one dough portion from the fridge, and on a lightly floured surface, roll it out to about 0.5cm thickness. Use haunted house-shaped cookie cutters to cut out your spooky structures.
- Place the cut-out cookies onto the prepared baking sheets, spacing them evenly. Bake for 10-12 minutes, or until the edges are golden brown and slightly crisp. Keep an eye on them to prevent over-baking.
- Once baked, transfer the cookies to a cooling rack and let them cool completely. As they cool, you'll notice tiny cracks—these are totally normal and add to their spooky charm.
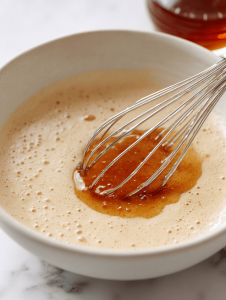
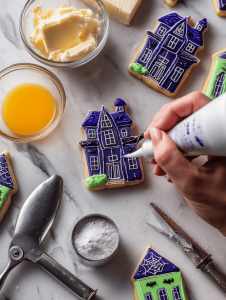
- Prepare your royal icing, tinting it with food coloring to achieve black, orange, and purple shades. Fill piping bags fitted with fine tips to make decorating easier and more precise.
- Decorate each haunted house with icing, adding crooked walls, spooky windows, and doors. Use small piping tips to create tiny spooky details, and add candy eyes or mini chocolates for extra creepy effects. Let the decorations dry for at least 2 hours until set.
- Once the icing is dry and hard, your haunted house cookies are ready to serve. Enjoy their charming imperfections and spooky details—perfect for Halloween celebrations or a fun baking project!
Notes
Once you’ve finished decorating, let the cookies sit for a bit. The royal icing will harden, making them easier to stack or pack away. The smell of vanilla and sugar lingering in the air is a reminder that some of the best memories are born in the chaos of a busy kitchen.
These haunted house cookies aren’t just treats — they’re stories told in sugar and flour, a little messy, a little spooky, and always a little sweet. Every crack, crooked wall, and tiny window is a badge of honor. So, keep baking, keep creating, and let the little imperfections haunt your kitchen in the best way.