Ingredients
Equipment
Method
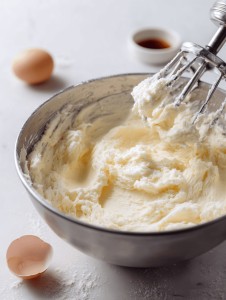
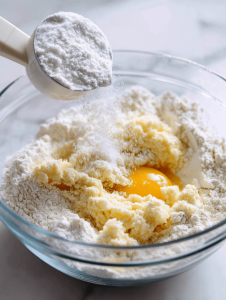
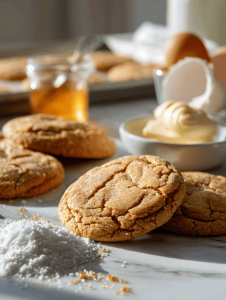
- In a large mixing bowl, beat softened butter and sugar together with an electric mixer until the mixture is pale, fluffy, and slightly increased in volume, about 3 minutes. The aroma of vanilla will fill the air as the sugar dissolves.
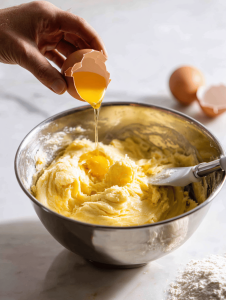
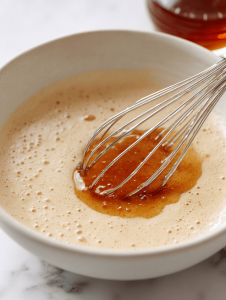
- Add the egg and vanilla extract to the bowl and continue mixing until fully combined, about 1 minute. The mixture should look smooth and slightly glossy.
- In a separate bowl, sift together the flour and baking powder to ensure there are no lumps. Gradually add the dry ingredients to the wet mixture, mixing on low speed until the dough begins to come together and is soft but manageable.
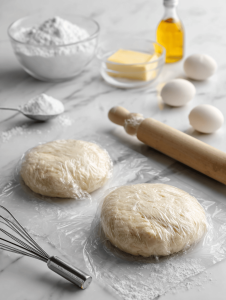
- Divide the dough into two portions, wrap each in plastic wrap, and chill in the refrigerator for about 30 minutes. This helps the dough relax and makes it easier to roll out.
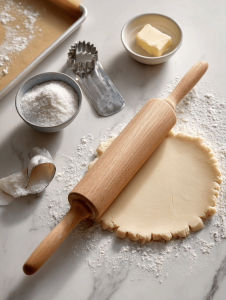
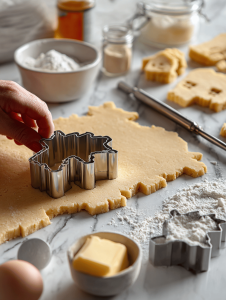
- Preheat your oven to 180°C (350°F) and line baking sheets with parchment paper. Remove one dough portion from the fridge, and on a lightly floured surface, roll it out to about 0.5cm thickness. Use haunted house-shaped cookie cutters to cut out your spooky structures.
- Place the cut-out cookies onto the prepared baking sheets, spacing them evenly. Bake for 10-12 minutes, or until the edges are golden brown and slightly crisp. Keep an eye on them to prevent over-baking.
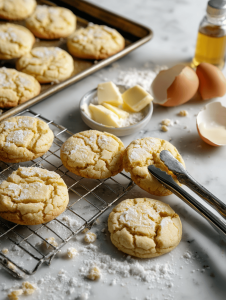
- Once baked, transfer the cookies to a cooling rack and let them cool completely. As they cool, you'll notice tiny cracks—these are totally normal and add to their spooky charm.
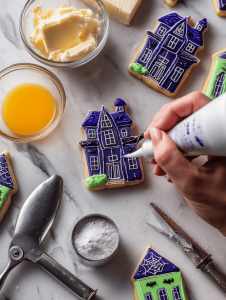
- Prepare your royal icing, tinting it with food coloring to achieve black, orange, and purple shades. Fill piping bags fitted with fine tips to make decorating easier and more precise.
- Decorate each haunted house with icing, adding crooked walls, spooky windows, and doors. Use small piping tips to create tiny spooky details, and add candy eyes or mini chocolates for extra creepy effects. Let the decorations dry for at least 2 hours until set.
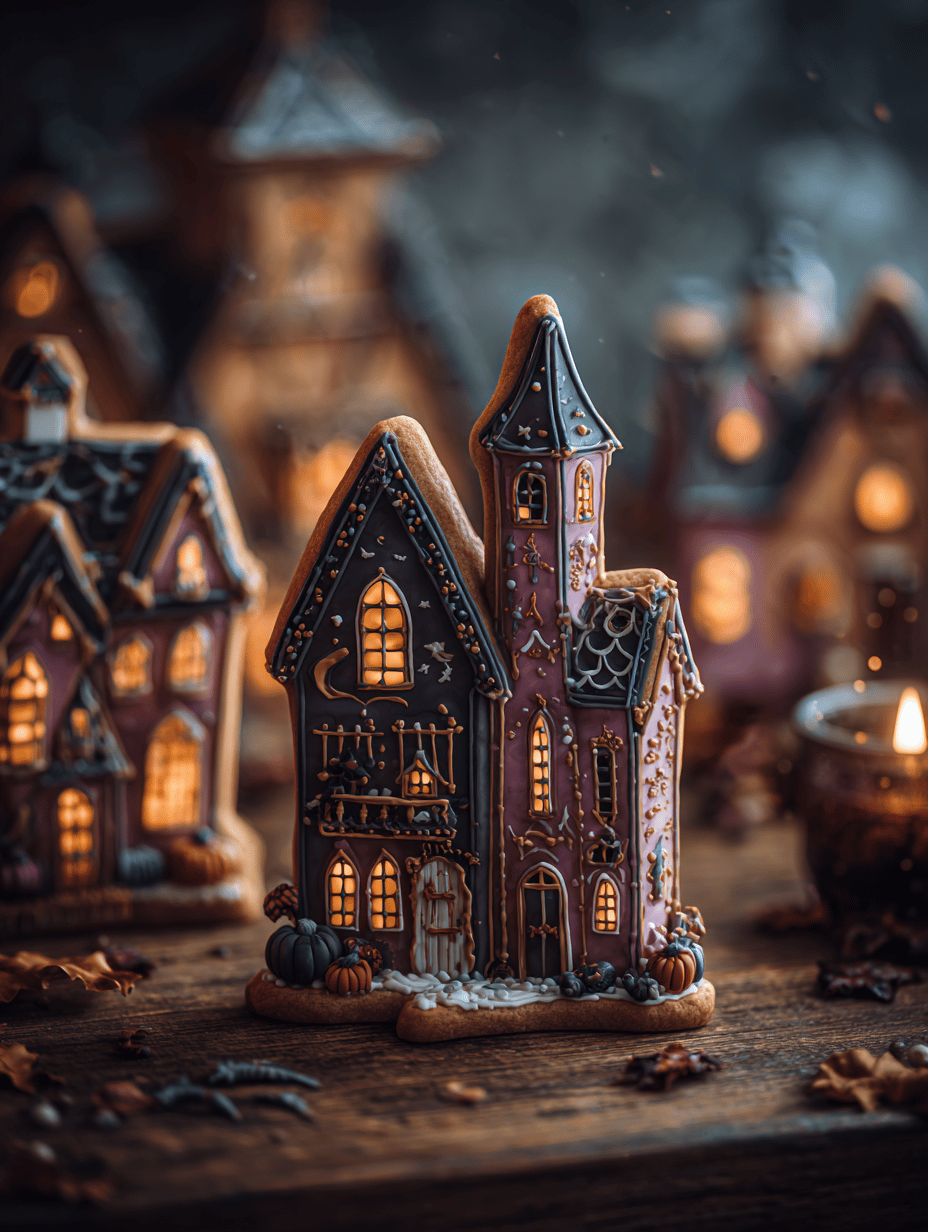
- Once the icing is dry and hard, your haunted house cookies are ready to serve. Enjoy their charming imperfections and spooky details—perfect for Halloween celebrations or a fun baking project!
Notes
Allow decorated cookies to dry completely before stacking or storing. They taste best the next day, when flavors meld and icing hardens.