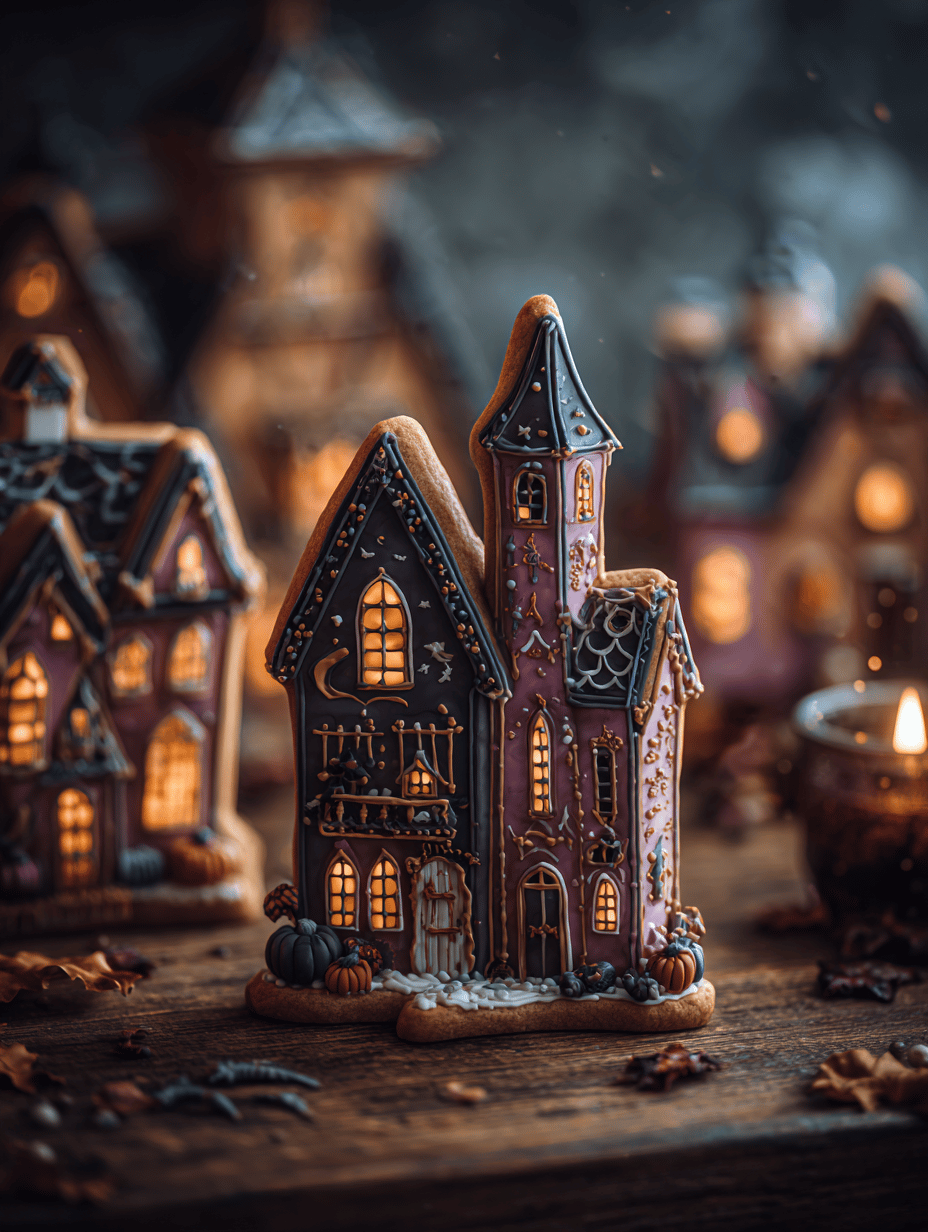
There’s something oddly satisfying about biting into a cookie that looks as mischievous as a haunted house. I started making these after a late-night craving for something playful and a bit wicked, especially around Halloween. The process is messy, fun, and surprisingly forgiving—perfect for when you want a project that ends with a smile, not stress.
Plus, these cookies aren’t just for the spooky season. They have a strange charm year-round, especially when you want to surprise someone with a creepy, cute treat. The best part? They come together quickly, so you can whip up a batch in under an hour and still have time for spooky movie marathons. A perfect mix of chaos and charm, really.
They’re not perfect, and that’s part of the charm. Cracks, uneven edges, maybe a little extra icing—each one tells a story. When you pop one in your mouth, it’s that satisfying crunch, the sweet, buttery flavor, and the creepy little details that make it all worthwhile.
What I love about these haunted house cookies
- Joy of creating something that looks as spooky as it tastes sweet—kids and adults both get a kick out of it.
- Chaos in the kitchen, but the chaos turns into cute, spooky cookies that still taste great.
- Nostalgia for Halloween treats I used to make as a kid—this recipe keeps that spirit alive.
- Feeling proud of how easy it is to turn simple ingredients into something spooky and adorable.
- Relief when the cookies come out of the oven with just enough cracks and character.
Ingredient breakdown: The spooky essentials
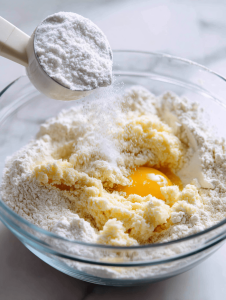
- Flour: I use all-purpose for a tender crumb. Skip if you want a sturdier cookie—try bread flour, but it’s not as delicate.
- Butter: I prefer unsalted, softened but not melted. It gives the cookies a rich, buttery smell that fills the kitchen.
- Sugar: Granulated makes for a crisp edge. Brown sugar adds a hint of caramel—swap if you want a smokier flavor.
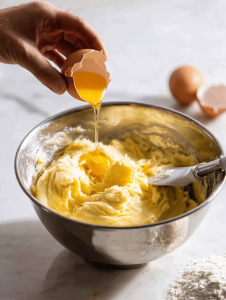
- Eggs: I use large eggs for consistency. They keep the dough binding and add moisture.
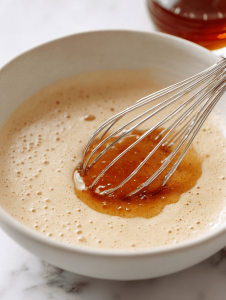
- Vanilla extract: The magic ingredient—brightens everything. Use real vanilla for a richer aroma.
- Royal icing: For decorating—oozy, smoky, perfect for creating creepy windows and door frames. If you prefer, melted chocolate works too.
- Food coloring: Bright, bold colors to make your haunted house pop. Use gel for vivid, non-watered-down hues.
The spooky blueprint: Making haunted house cookies step-by-step
Equipment & Tools
- Mixing bowls: For dough prep and icing mixing.
- Electric mixer: To get the butter and sugar fluffy.
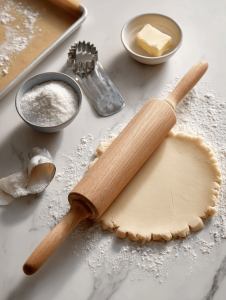
- Rolling pin: For even dough thickness.
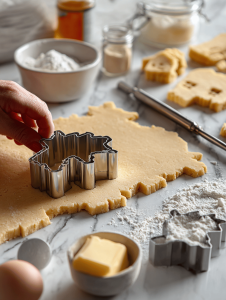
- Cookie cutters: Haunted house shapes or freehand cutouts.
- Piping bags and tips: For detailed icing work.
- Baking tray: Sized to fit your cookies comfortably.
- Cooling rack: To set the cookies before decorating.
Mise en place
- Preheat oven to 180°C (350°F).
- Gather all ingredients and tools.
- Line baking tray with parchment paper.
- Softened butter and pre-measured flour ready.
- Prepare icing bags with different colors.
Steps
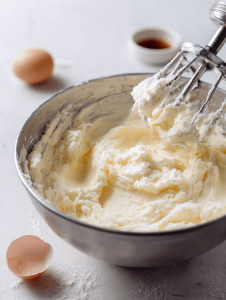
- Cream butter and sugar until light and fluffy, about 3 minutes.
- Add eggs one at a time, mixing well after each.
- Mix in vanilla extract.
- Gradually add flour until dough forms—do not overmix.
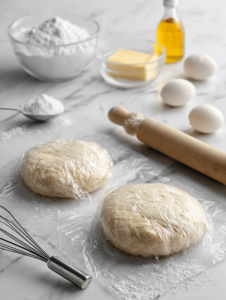
- Divide dough, wrap in plastic, chill for 30 minutes.
- Roll out dough on floured surface to 0.5 cm (¼ inch).
- Cut out haunted house shapes, transfer to tray.
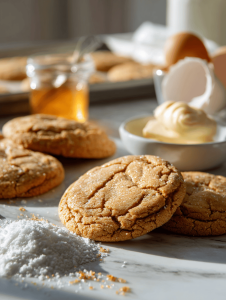
- Bake for 10-12 minutes until edges are golden.
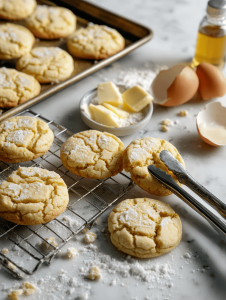
- Let cookies cool on rack for at least 10 minutes.
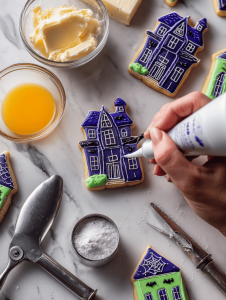
- Decorate with royal icing, creating windows, doors, and spooky details.
- Allow icing to set, about 30 minutes.
Resting & Finishing
Let the decorated cookies rest at room temperature until the icing is firm. They’re best enjoyed the same day, but can be stored in an airtight container for 2 days. The cracks and imperfections make each one uniquely spooky.
Checkpoints & How to Know It’s Done
- Cookies should be golden at the edges and firm but not hard.
- Icing should be matte and set, not sticky.
- Smell should be buttery with hints of vanilla and sweet icing.
Oops moments and how to fix them
- FORGOT to chill? Pop dough back in fridge for 15 minutes, then re-roll.
- DUMPED too much flour? Brush off excess before baking or add a splash of milk to dough.
- OVER-TORCHED edges? Slice off burnt parts, and bake a batch of quick icing to cover imperfections.
- CRACKS in cookies? Slightly underbake, or add a touch more butter to dough next time.
Lightning-fast fixes in the kitchen
- When icing cracks, splash with a little lemon juice to smooth it out.
- Patch small cracks with extra icing, using a toothpick for precision.
- Shield delicate details with a layer of melted chocolate if icing is fragile.
- When cookies are too soft, pop them back in oven for 2 minutes at 160°C (320°F).
- Switch to powdered sugar for quick, non-sticky decorating if icing is too runny.
And that’s how these haunted house cookies come alive—creepy, cute, and just the right amount of chaos. They’re a reminder that sometimes, imperfect is exactly what makes something memorable. No matter how they turn out, they’ll always bring a little extra spooky joy.
So, keep your kitchen messy and your spirits high. These cookies aren’t about perfection—they’re about the fun, the surprises, and the stories you tell while making them. And honestly, that’s what makes the whole process worth it.
Haunted House Cookies
Ingredients
Equipment
Method
- Cream the softened butter and granulated sugar together in a mixing bowl using an electric mixer until the mixture is light, fluffy, and pale in color, about 3 minutes. This aroma of sweet butter fills the kitchen, and the mixture should look smooth and creamy.
- Add the large egg to the bowl and mix until fully incorporated, about 30 seconds. The dough will become slightly more glossy and cohesive.
- Stir in the vanilla extract, blending it into the mixture until fragrant, about 15 seconds. You’ll notice the aroma of vanilla intensify.
- Gradually add the all-purpose flour to the wet mixture, mixing on low speed or folding gently until a soft dough forms. The dough should hold together but still be slightly crumbly.
- Divide the dough into two halves, shape into disks, wrap tightly in plastic wrap, and chill in the refrigerator for about 30 minutes. This relaxes the gluten and makes rolling easier.
- Preheat your oven to 180°C (350°F). Line a baking tray with parchment paper. Lightly flour your work surface, then remove one dough disk from the fridge. Using a rolling pin, roll out the dough to about 0.5 cm (¼ inch) thick, ensuring even thickness for uniform baking.
- Use haunted house-shaped cookie cutters or freehand cutouts to shape the cookies, pressing firmly to create sharp edges. Transfer each cutout carefully onto the prepared baking tray, spacing them slightly apart.
- Bake the cookies in the preheated oven for about 10-12 minutes until their edges turn golden brown and the cracks start to appear. You’ll hear a faint sizzle as they bake, and the scent of buttery cookies will fill your kitchen.
- Remove the cookies from the oven and let them cool on the baking tray for about 10 minutes. Then, transfer them to a cooling rack and allow them to cool completely before decorating. They should feel firm and have charming cracks and imperfections.
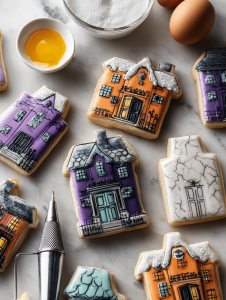
- Fill piping bags with colorful royal icing and pipe spooky windows, doors, and creepy details onto each cookie. Use gel food coloring to achieve vibrant hues, and take your time adding tiny details for a haunted effect. Let the icing set for about 30 minutes until matte and firm.
- Once decorated and the icing has set, enjoy these charming haunted house cookies with a glass of milk or as part of your Halloween celebration. Their cracked, quirky appearance makes each one uniquely spooky and delightful.
Notes
There’s something oddly satisfying in seeing a batch of spooky cookies come together, cracks and all. Each one carries a little piece of the chaos, the joy, and the thrill of the holiday season. Sharing these with friends or leaving them out for ghosts and goblins, they somehow feel more alive than perfect, pristine treats.
In the end, it’s about the messy, imperfect magic of creating something fun and a little spooky. These haunted house cookies might not win awards, but they’ll definitely win smiles—and maybe a few scares. Keep baking, keep laughing, and let the spooky spirit lead the way.