Ingredients
Equipment
Method
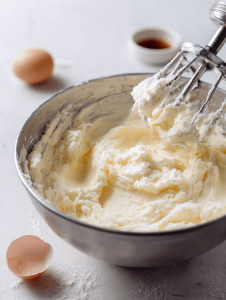
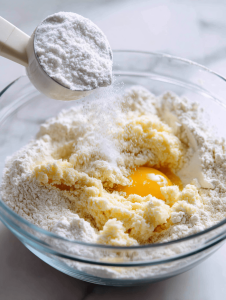
- Cream the softened butter and granulated sugar together in a mixing bowl using an electric mixer until the mixture is light, fluffy, and pale in color, about 3 minutes. This aroma of sweet butter fills the kitchen, and the mixture should look smooth and creamy.
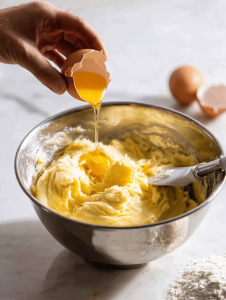
- Add the large egg to the bowl and mix until fully incorporated, about 30 seconds. The dough will become slightly more glossy and cohesive.
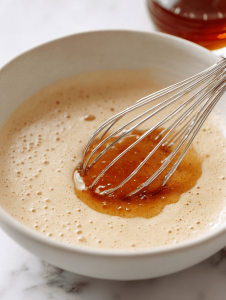
- Stir in the vanilla extract, blending it into the mixture until fragrant, about 15 seconds. You’ll notice the aroma of vanilla intensify.
- Gradually add the all-purpose flour to the wet mixture, mixing on low speed or folding gently until a soft dough forms. The dough should hold together but still be slightly crumbly.
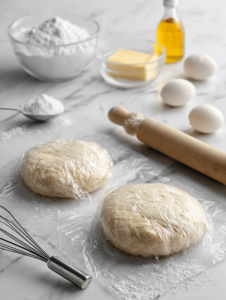
- Divide the dough into two halves, shape into disks, wrap tightly in plastic wrap, and chill in the refrigerator for about 30 minutes. This relaxes the gluten and makes rolling easier.
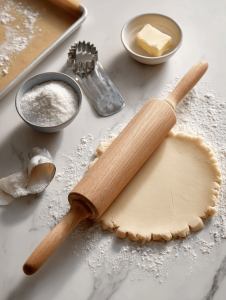
- Preheat your oven to 180°C (350°F). Line a baking tray with parchment paper. Lightly flour your work surface, then remove one dough disk from the fridge. Using a rolling pin, roll out the dough to about 0.5 cm (¼ inch) thick, ensuring even thickness for uniform baking.
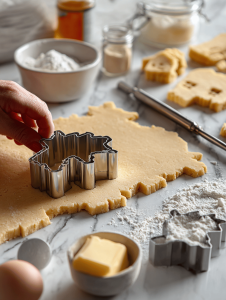
- Use haunted house-shaped cookie cutters or freehand cutouts to shape the cookies, pressing firmly to create sharp edges. Transfer each cutout carefully onto the prepared baking tray, spacing them slightly apart.
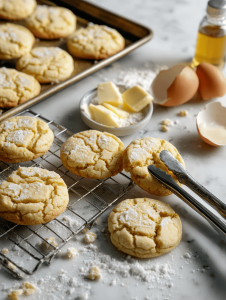
- Bake the cookies in the preheated oven for about 10-12 minutes until their edges turn golden brown and the cracks start to appear. You’ll hear a faint sizzle as they bake, and the scent of buttery cookies will fill your kitchen.
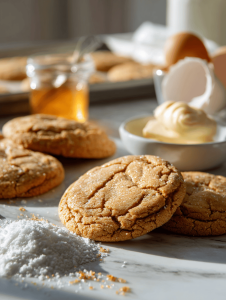
- Remove the cookies from the oven and let them cool on the baking tray for about 10 minutes. Then, transfer them to a cooling rack and allow them to cool completely before decorating. They should feel firm and have charming cracks and imperfections.
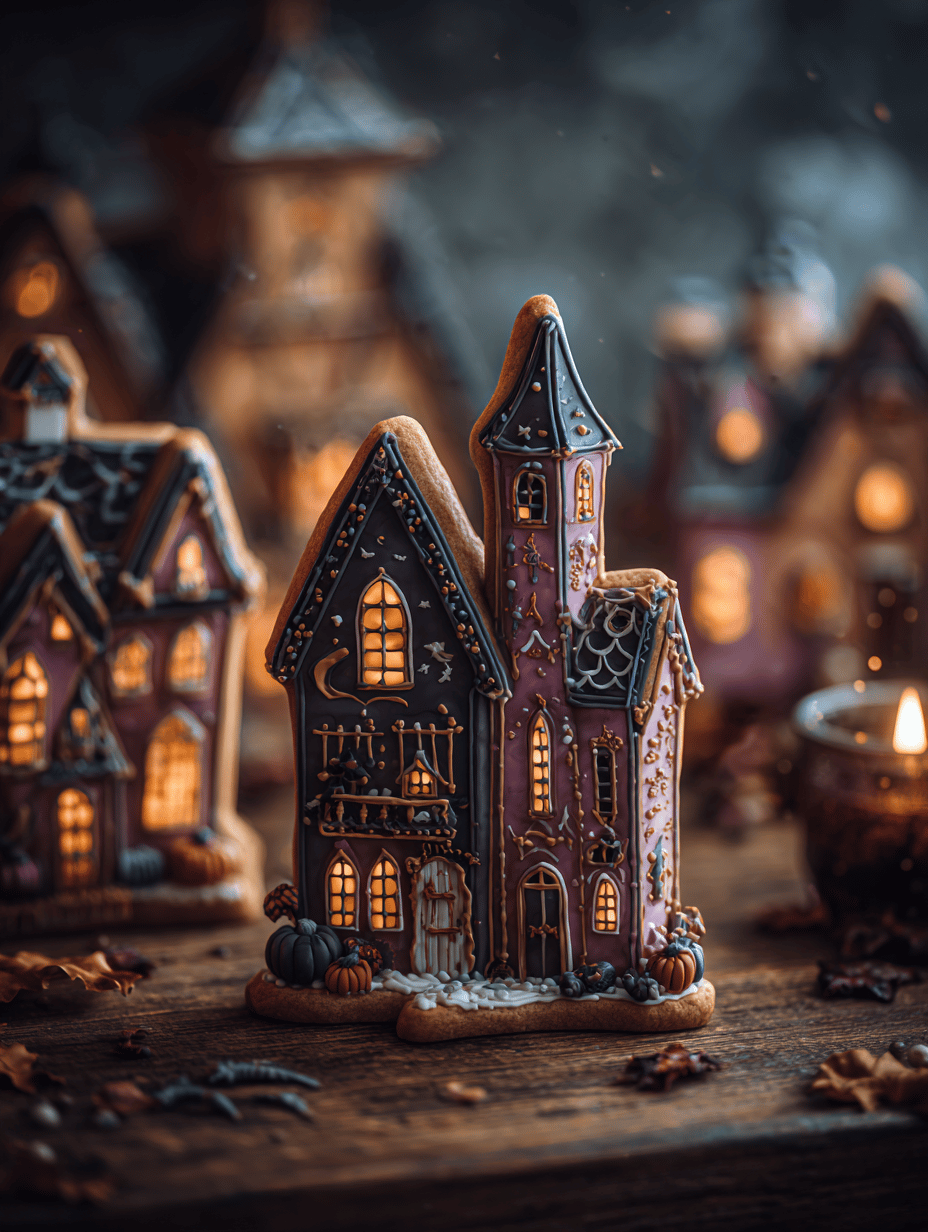
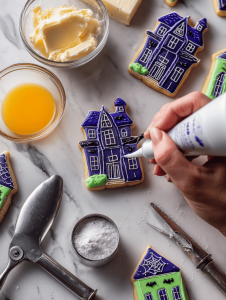
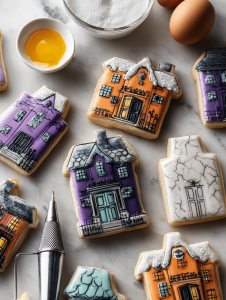
- Fill piping bags with colorful royal icing and pipe spooky windows, doors, and creepy details onto each cookie. Use gel food coloring to achieve vibrant hues, and take your time adding tiny details for a haunted effect. Let the icing set for about 30 minutes until matte and firm.
- Once decorated and the icing has set, enjoy these charming haunted house cookies with a glass of milk or as part of your Halloween celebration. Their cracked, quirky appearance makes each one uniquely spooky and delightful.
Notes
For extra spookiness, add edible glitter or tiny candy accents. Keep decorated cookies in an airtight container for up to 2 days for best freshness.