Ingredients
Equipment
Method
- Preheat your oven to 350°F (175°C) and line a baking sheet with parchment paper. In a large mixing bowl, beat the softened butter and sugar together until the mixture is light and fluffy, and smells slightly sweet and creamy.
- Add the egg, vanilla extract, and almond extract to the creamed mixture. Mix well until the ingredients are fully combined and the mixture is smooth.
- In a separate bowl, whisk together the all-purpose flour and baking powder. Gradually add the dry ingredients to the wet mixture, mixing on low speed until a stiff dough forms.
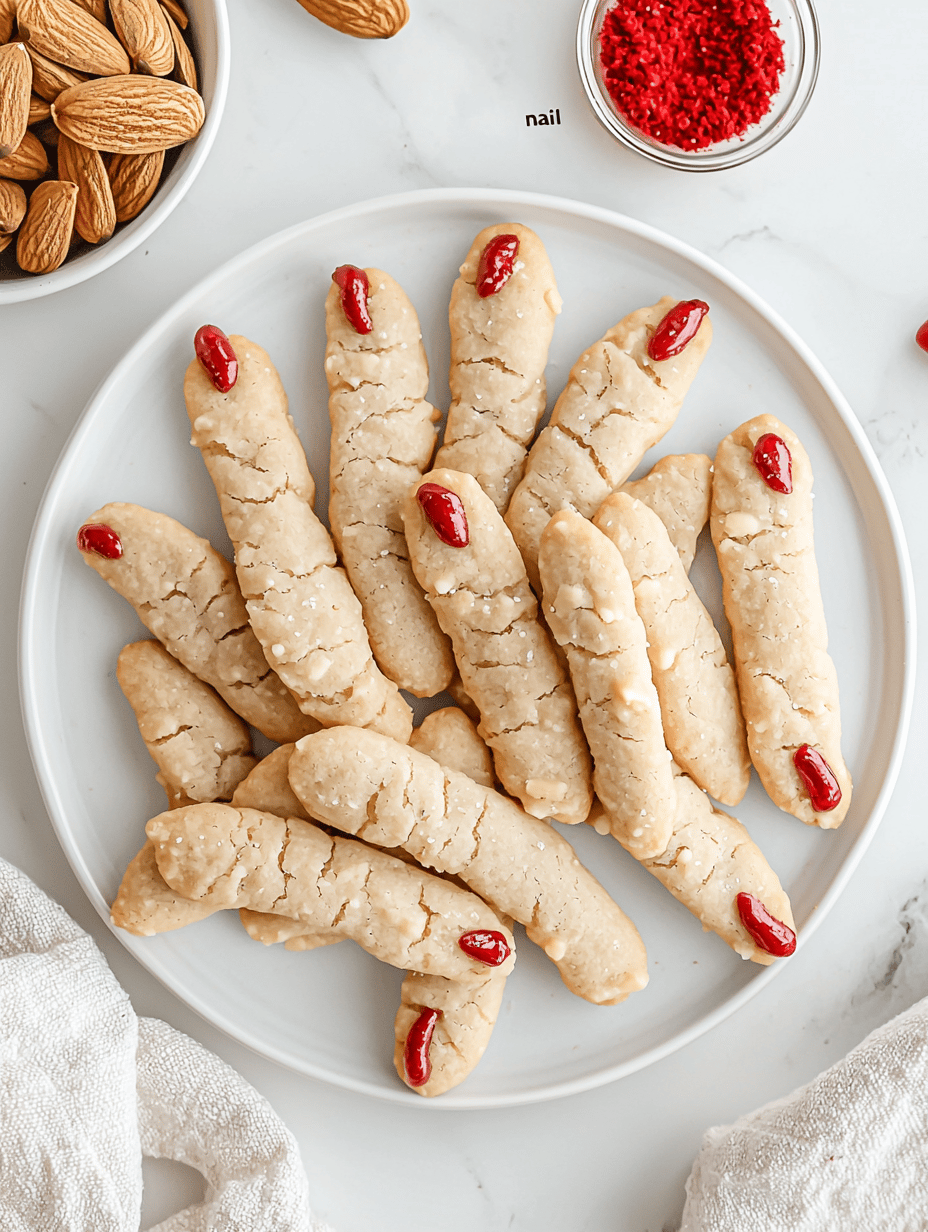
- Divide the dough into 12 equal portions. Roll each portion into a long, thin finger shape, about 4 inches long. Slightly taper the ends to resemble knuckles and fingers.
- Place the shaped dough on the prepared baking sheet, spacing them apart. Brush each finger with a little egg white to help the almonds stick and give a slight sheen.
- Press an almond sliver into the top of each finger to create a spooky nail. Use your fingers or a small tool to gently crack the dough surface for a cracked, broken look if desired.
- Bake the cookies in the preheated oven for 12-15 minutes, or until the edges are lightly golden and the surface shows cracks. The cookies will be firm and crisp as they cool.
- Remove from the oven and gently transfer the cookies to a wire rack. Let them cool completely to allow the cracks to set and the texture to firm up.
- Dust lightly with powdered sugar to accentuate the cracks and give a spooky, broken appearance. You can also add more almond nails or cracked details now if desired.
- Serve the Witch Finger Cookies once they are fully cooled, delighting guests with their creepy appearance and crunchy texture.
Notes
Chill the dough if it becomes too sticky for easy shaping. For extra creepiness, vary crack sizes and add bitten or missing nails using small bits of dough or additional almonds. Keep a close eye while baking to avoid over-browning.